|
To ensure that your Event Portal works correctly, please ensure you follow the steps below when setting up new Events:
Create a Event Record
Hopefully you have already been set up with a Form Layout and Record Template specifically for Events - if not, speak to your System Admin.
If this has been set up, this means that you will be able to go to Start > New > Marketing Campaign > Event to set up a new Event, which will open a screen similar to below:
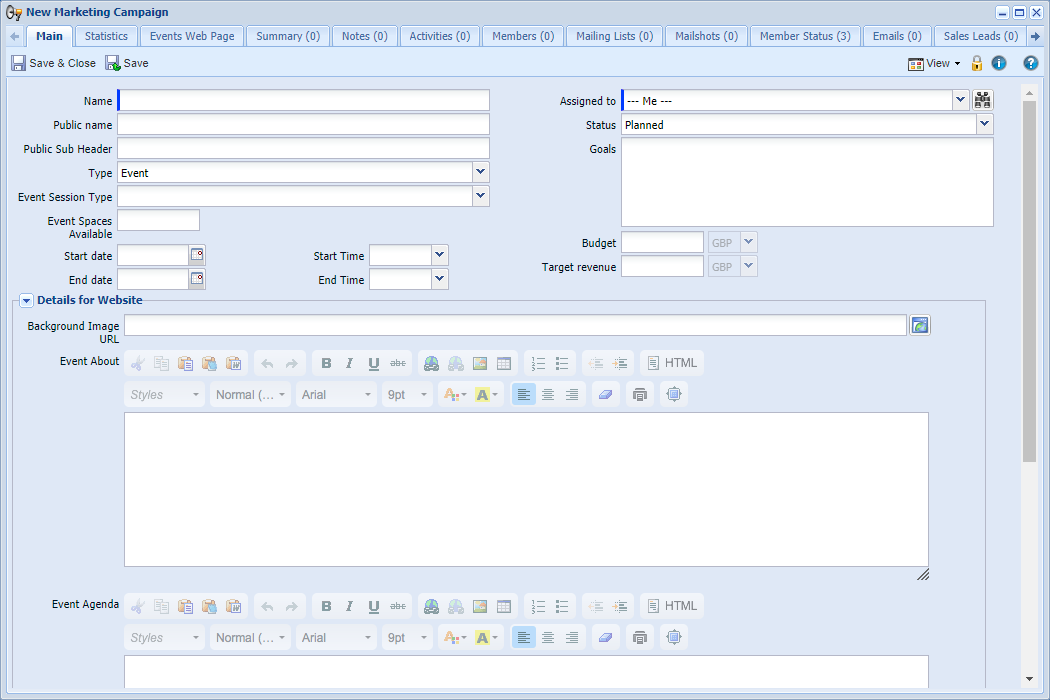
If a Record Template has not been set up, you will have to go to Start > New > Marketing Campaign to create a new Marketing Type, change the 'Type' field to 'Event' and save. Only then will the correct Form Layout be shown.
Fill in the fields as follows:
-
Name - The name of the Event that you are using internally - this will not be displayed on the Portal.
-
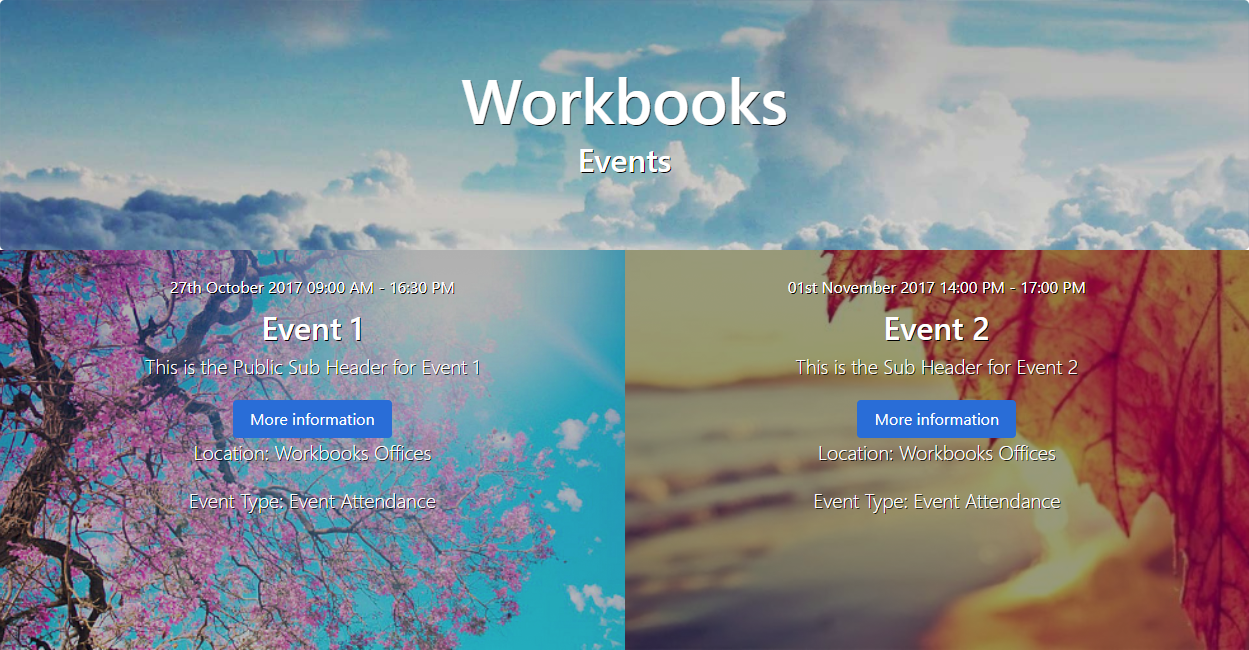
Public name - The name of the Event as you want it to display on the Portal.
-
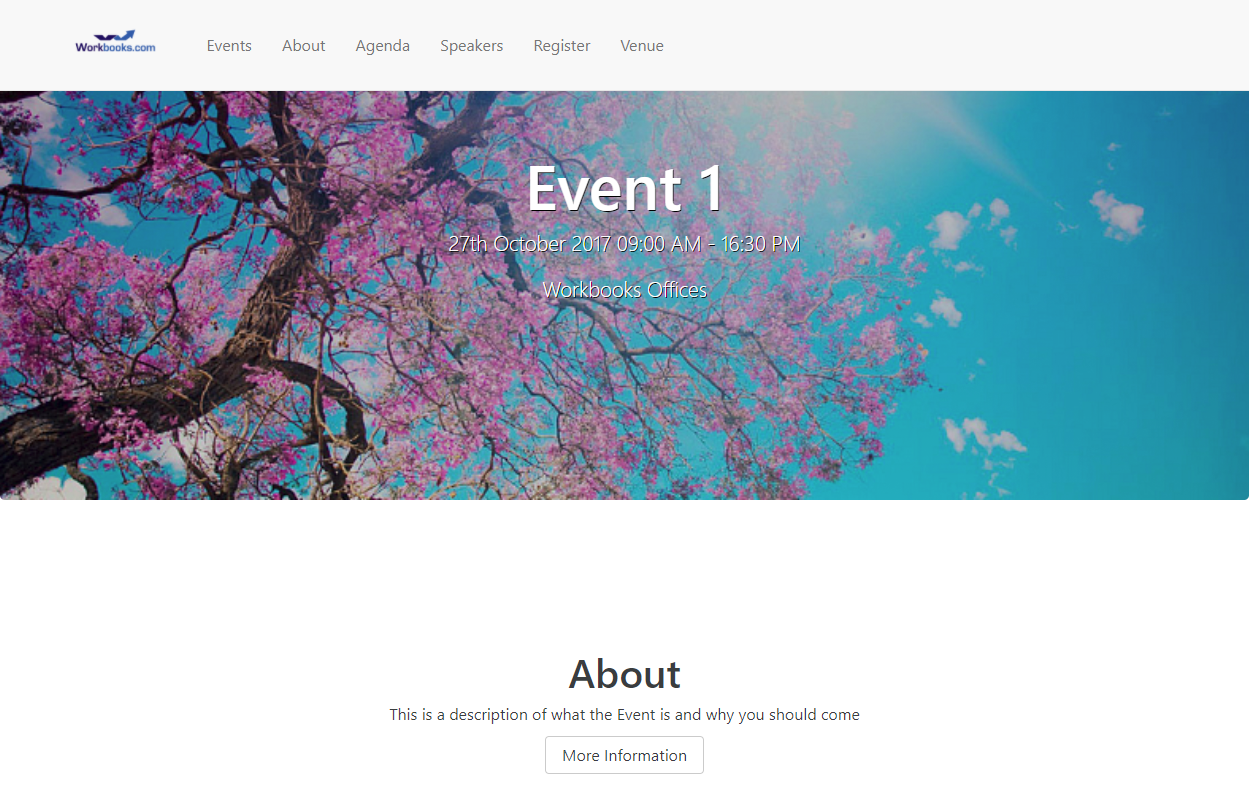
Public Sub Header - A brief summary of the Event, which will be displayed on the Portal under the Event Name.
-
Event Session Type - Choose what type of Event it is that you are running, like Seminar or Product Launch.
-
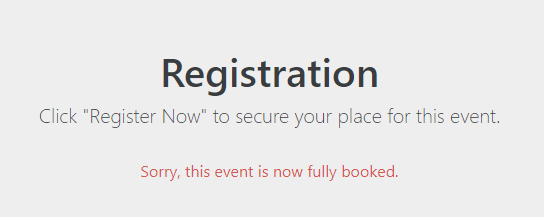
Event Spaces Available - The number of places that are available at your Event, allowing you to stop more people from signing up than the venue capacity. For every person that registers, this field will decrease by 1. When it reaches 0, no one else will be able to register, instead, they will see this message:
-
Start date / Start Time- The start date and time of the Event.
-
End date / End Time - The end date and time of the Event.
-
Background Image URL - The URL for the image that will be used as the background for that Event in the Portal. If you are already hosting this image online, you can use the URL from the site you are hosting it on, or you can upload it to the Upload Library, which will generate an External URL for you.
NOTE: Ensure that you include the 'https://' or 'http://' at the beginning of the URL.
NOTE: This background gets resized based on the size of the window, so ensure that you are using a high resolution image.
-
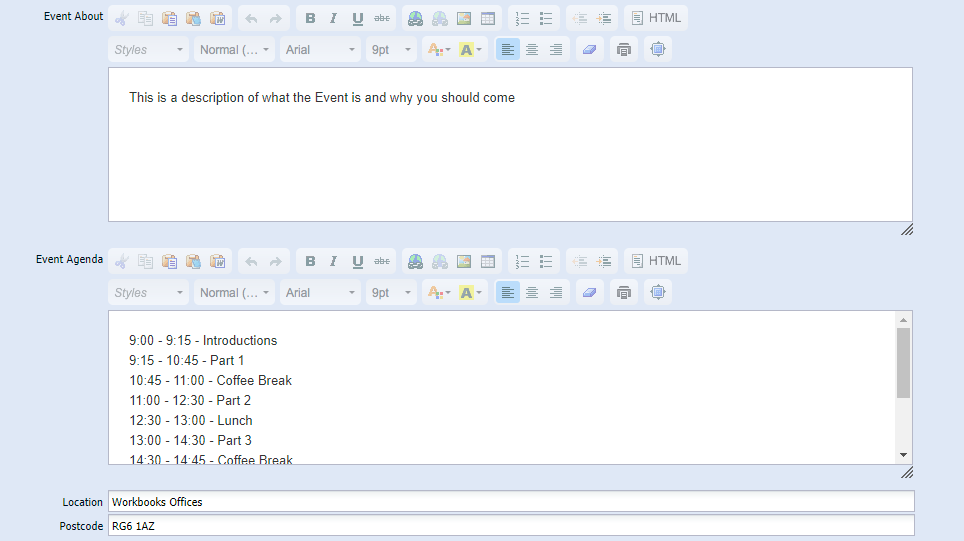
Event About - A description of the Event - what you will be covering, why it will be a great event etc.
-
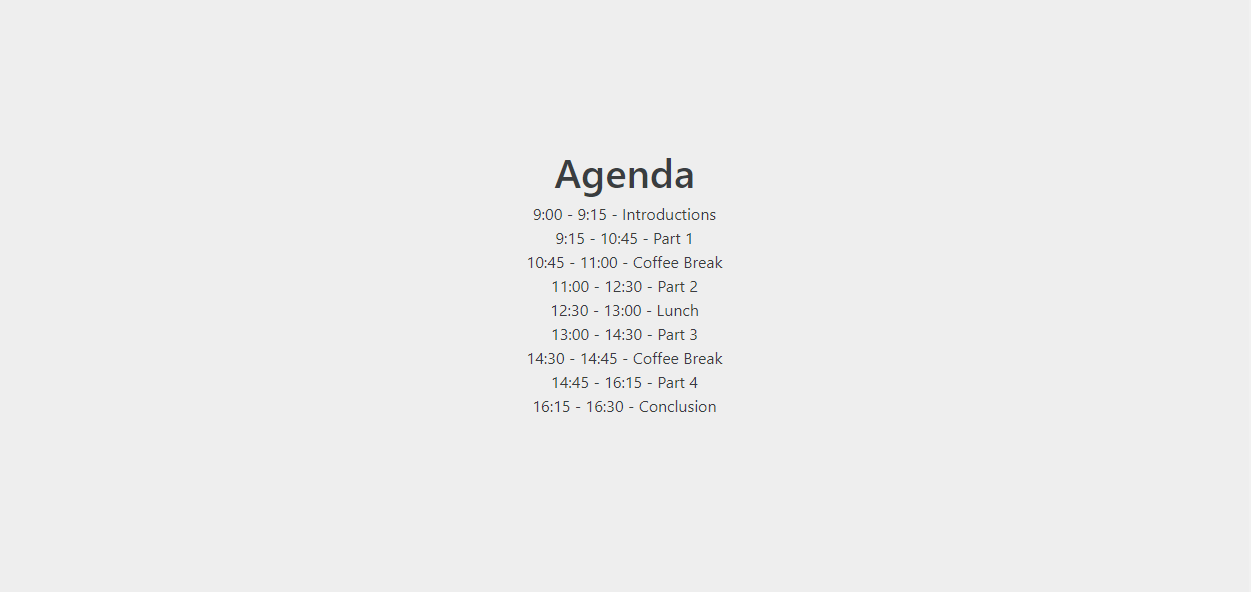
Event Agenda - A more detailed overview of the plan for the Event.
-
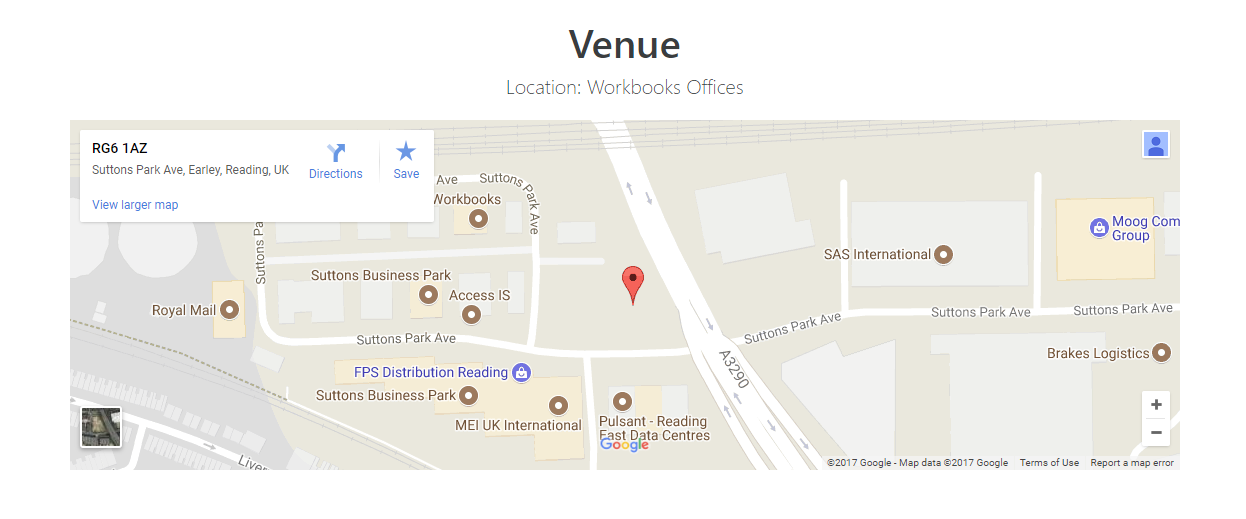
Location - The description of the venue
-
Postcode - The postcode of the venue, which will be used to display the location on a map on the Portal
Once you have filled in the fields, you can save the record. At this point, the Event will not be showing on the Portal. You can leave your Event in this state if you are still in the planning stage and are not sending out any invites yet.
Run the Button Process
You will need to run the Button Process to create the relevant Membership Statuses:
- Invited - Can be used by you to mark anyone that you have sent an invite to.
- Registered - Used by the Portal to mark anyone that has signed up for the Event.
- Attended - Used by the Check In Portal to mark those that have turned up for the Event.
- Did Not Attend - Can be used by you to mark those that registered but did not turn up for the Event.
- Speaker - Used to mark those Members that are speaking at the Event so that they display on the Portal:
Add Speakers
On the Members tab of the Event record, add anyone that will be speaking at the event as a Member with a Membership Status of 'Speaker'.
Then click on the Member Status of that Person to open the Campaign Membership record, and fill in the details about that Speaker:
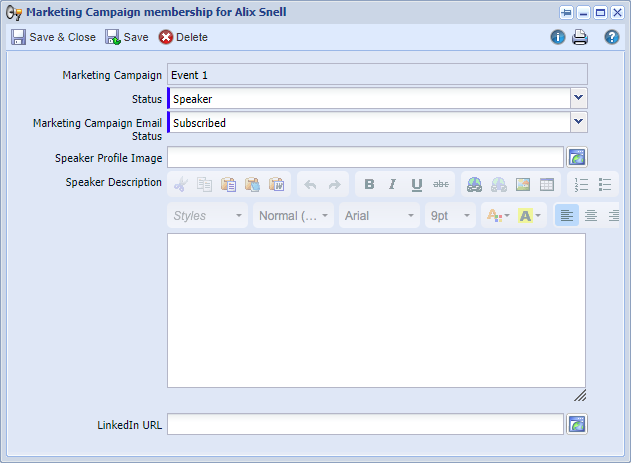
- Speaker Profile Image - The URL of a Profile Picture for that speaker. You may need to upload their photo into the Upload Library to get a URL. NOTE: ensure that you include the 'https://' or 'http://' at the beginning of the url. If an image is not specified here, it will instead display the default image that was specified in the Webinar Portal process parameters.
- Speaker Description - A brief summary of who they are or what they will be presenting.
- LinkedIn URL - The URL for the Speaker's LinkedIn profile. If this field is filled in, a LinkedIn button will show, which will take the portal user to this URL. If left blank, no LinkedIn button will show.
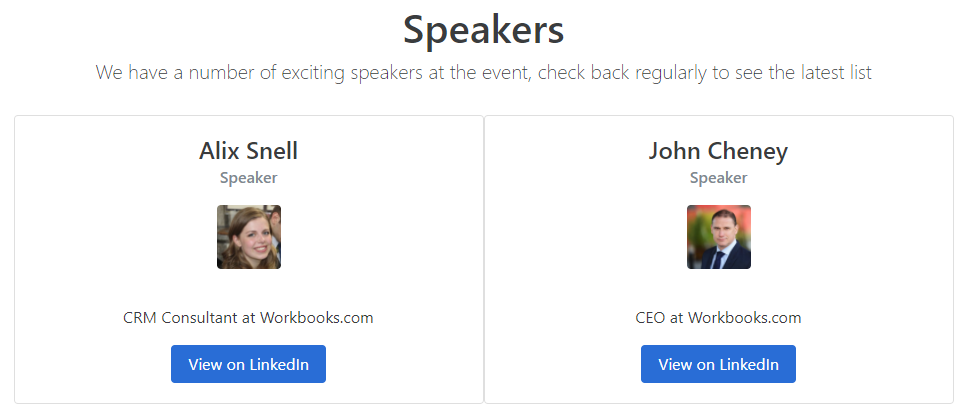
This will then mean that they show up in the 'Speakers' section of the Event in the Portal:
Review the Event in the Event Portal
Once everything is set up, and you want the Event to start showing on the Portal, you need to change the Status to 'Active'.
Finally, if you have the 'Event Portal' tab on the Event record, you can use it to check that everything looks ok on the Portal, otherwise you will have to navigate to the Event Portal separately, from the Preview tab on the Event Portal Web Process.
If everything looks ok, you start adding members to your Event and can start sending out invites!!
|

