


Create/Update & Cancel Webinars from Events
Information on how to configure Process Buttons to integrate an Event with GoToWebinar
Create Live & On Demand Webinars
An Event record in Workbooks can be used to store information about an upcoming Webinar, which can then be synchronised to GoToWebinar using a Process Button. Configure a Process Button using the instructions here. When configuring the Process Button:
- Set the mode to “create”
- Consider the automated email parameter values – these parameters can be set to TRUE if you wish to turn off the default GoToWebinar emails and send emails via other means such as Workbooks or GatorMail:
- disable_gtw_confirmation_email: This email is received after a new Event Attendee is registered to a Webinar.
- disable_gtw_reminder_email: This email is received periodically leading up to the start time of a webinar. A schedule can be determined directly in the GoToWebinar platform
- disable_gtw_absent_email: This email is sent after the webinar for any registrant that did not attend the webinar
- disable_gtw_attended_email: This email is also sent after the webinar for any registrant that dialled into the webinar
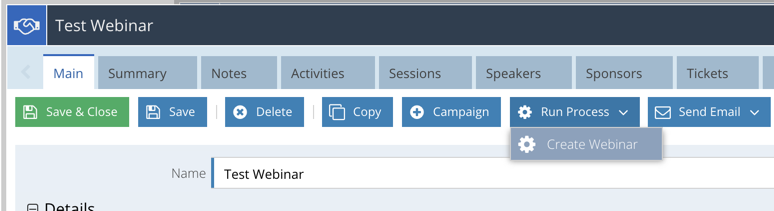
From an Event, a user can then click Run Process > Create Webinar to synchronise the record and schedule a Live or On Demand Webinar in the GoToWebinar platform.
NOTE: If you have more than one GoToWebinar account configured, select which account the integration should use in the GoToWebinar Account field before clicking “Create Webinar”. See here for information on configuring multiple accounts.
By default, a Live Webinar is created. To create an On Demand Webinar instead, set the On Demand checkbox to TRUE, and select a recording in the Webinar Recording field.
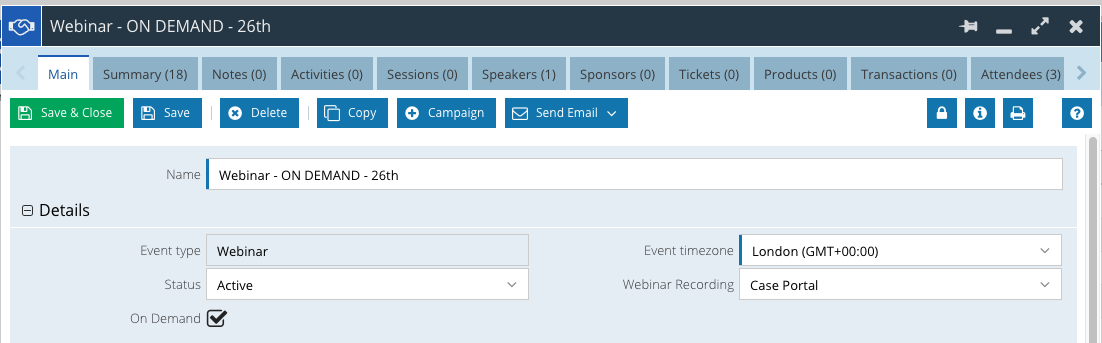
The Webinar Recording field is automatically maintained by the “GoToWebinar – Retrieve Webinar Data” Scheduled Process and should not be added to manually.
When an Event is synchronised to GoToWebinar, the following fields are mandatory as they are used by the integration:
| # | Workbooks Field | GoToWebinar Field |
|---|---|---|
| 1 | Name | Subject |
| 2 | Agenda | Agenda |
| 3 | Start | Start Time |
| 4 | End | End Time |
| 5 | Timezone | Sets the timezone of the start/end time |
| 6 | GoToWebinar Type | Experience Type |
After you have synchronised an Event, the integration sets the following fields to indicate a successful sync:
| # | Workbooks Field | Value | Notes |
|---|---|---|---|
| 1 | Webinar Key | GoToWebinar Webinar Key | |
| 2 | Status | Set to “Active” | |
| 3 | Start | Updated to the current date time. | GoToWebinar On Demand Webinars are available from the time they are scheduled. Therefore, the Start date/time in Workbooks is updated to reflect this. |
| 4 | End | Updated to the 23:59:59 of the currently selected End Date e.g. 01/01/2020 4:00pm, becomes 01/01/2020 23:59:59 after scheduling in GoToWebinar | GoToWebinar On Demand Webinars are available until 11:59PM on the date that they are scheduled to end. Therefore, the End date/time in Workbooks is updated to reflect this. |
We’d recommend making the above fields read-only on your Form Layouts as to not cause any issues with the integration.
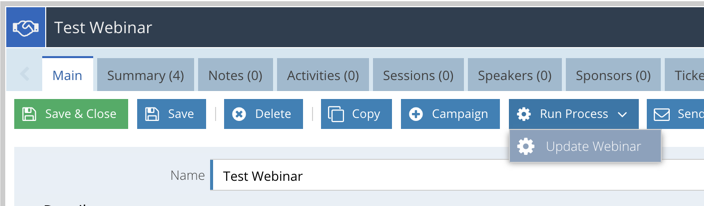
Update Webinars
Once a Webinar has been synced to GoToWebinar, it’s details can be updated directly from the Event record without logging into the GoToWebinar platform. After a successful update, GoToWebinar notifies all registrants of the change in details via email. The fields used to create a Webinar, can subsequently updated in GoToWebinar by changing their values, then clicking then using the “Update Webinar” button. Configure a Process Button called “Update Webinar”, again, using the instructions here.
All settings should remain the same, however, whilst setting the mode parameter use the value “update” instead. If you have disabled the GoToWebinar emails on the “Create Webinar” button, you will also need to set the same parameters values here too, otherwise the Webinar will be updated and re-enable any emails previously switched off.
Cancel Webinars
An Event that is synchronised to GoToWebinar can also be cancelled directly from Workbooks by setting up a “Cancel Webinar” Process Button using the instructions here. All settings should remain the same, however, whilst setting the mode parameter use the value “cancel” instead.
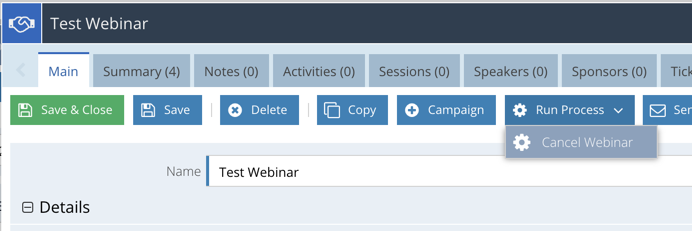
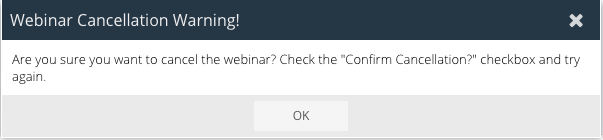
When you want to cancel a Webinar, a user is unable to do so by clicking “Cancel Webinar” straight away. First, tick the checkbox Confirm Cancellation, then click Run Process > Cancel Webinar otherwise the following message will be shown:
Once a webinar is cancelled in GoToWebinar, it is no longer visible in the GoToWebinar platform. If you have any existing registrants, they will be notified that the Webinar has been cancelled via email.
After a Webinar has been cancelled using this method, the Status of the Workbooks Event will be set to “Cancelled”.