


Creating Custom Document Templates
How to amend a Document Template using the templating language called XSLT.
Tip
The unified.xsl template contains a lot of example template markup. Start by taking a sample template from GitHub.
Workbooks provides a standard PDF template for all Transaction Documents out-of-the-box which can be used to send out details of a record to a customer or supplier via email directly from a Workbooks record. Whilst the standard Template shows basic information and is suitable for most use cases, it is also possible to create custom Templates for most record types to replace the standard offering.
Custom templates are written in a coding language known as XSL, of which Workbooks uses v1.0. With a custom template, they can be built to match your company branding, or include business logic to suit your needs. For example, you may wish to have a custom template built to integrate with our DocuSign integration.
Depending on the age of your Database you might have one of several versions of unified.xsl available. We recommend that you begin by taking a copy of latest version published on GitHub at https://github.com/workbooks/pdf_templates
To access PDF Templates go to Start > Configuration > PDF Templates > PDF Templates. From here, you will see a list of configured templates by record type.
Adding new Templates
From the PDF Templates screen, select Add Custom PDF Template to create your new PDF Template.
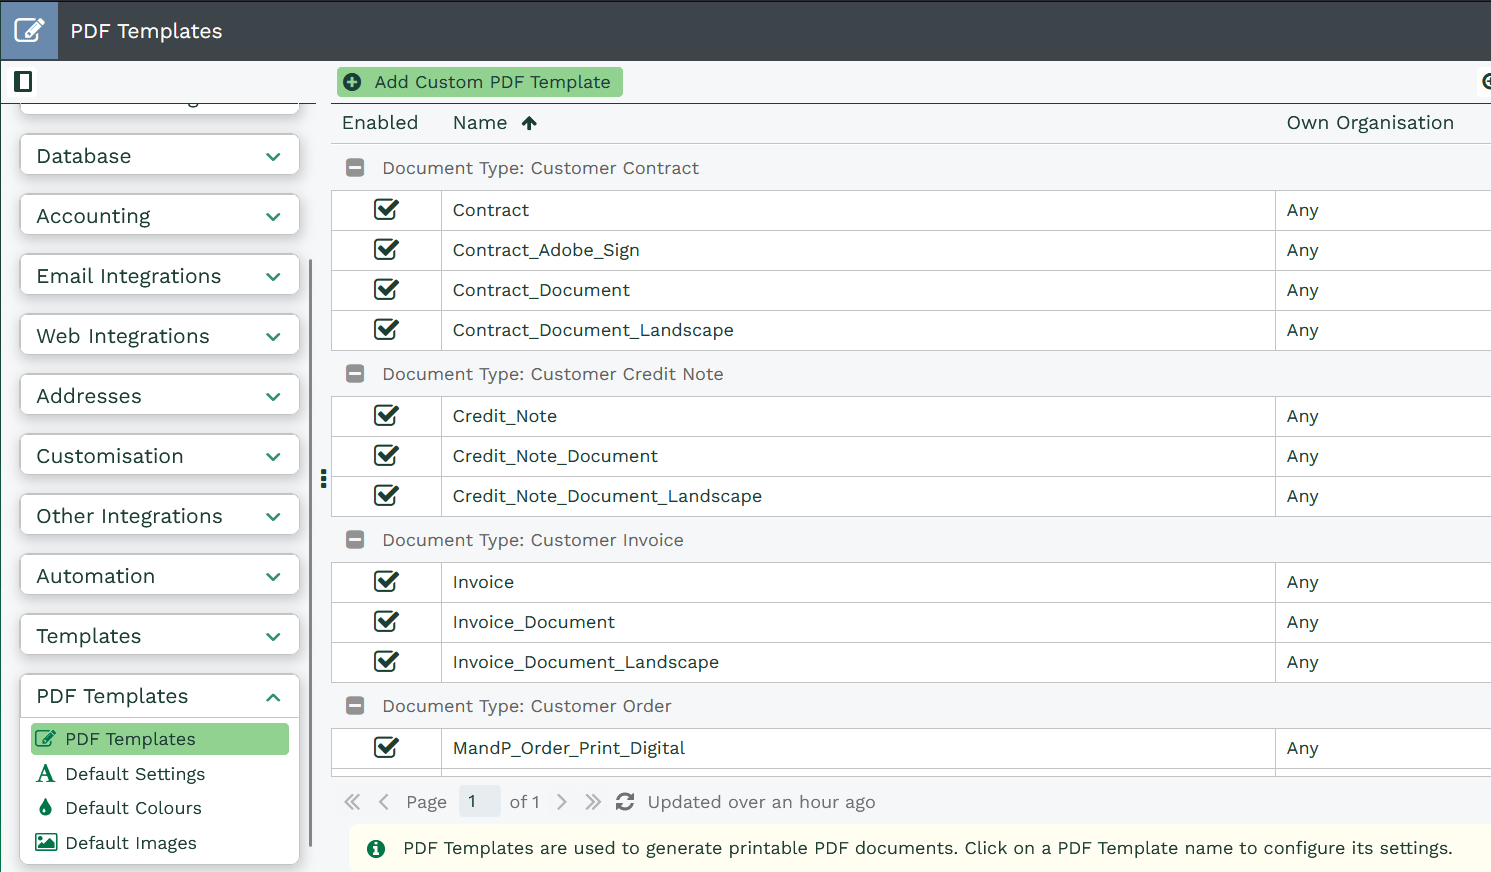
You cannot overwrite the standard PDF Templates, only disable them. To do this, click into the template you wish to disable and uncheck the “Enabled” checkbox, then save & close the window.
For new templates, you will need to enter the details of your PDF Template as follows:
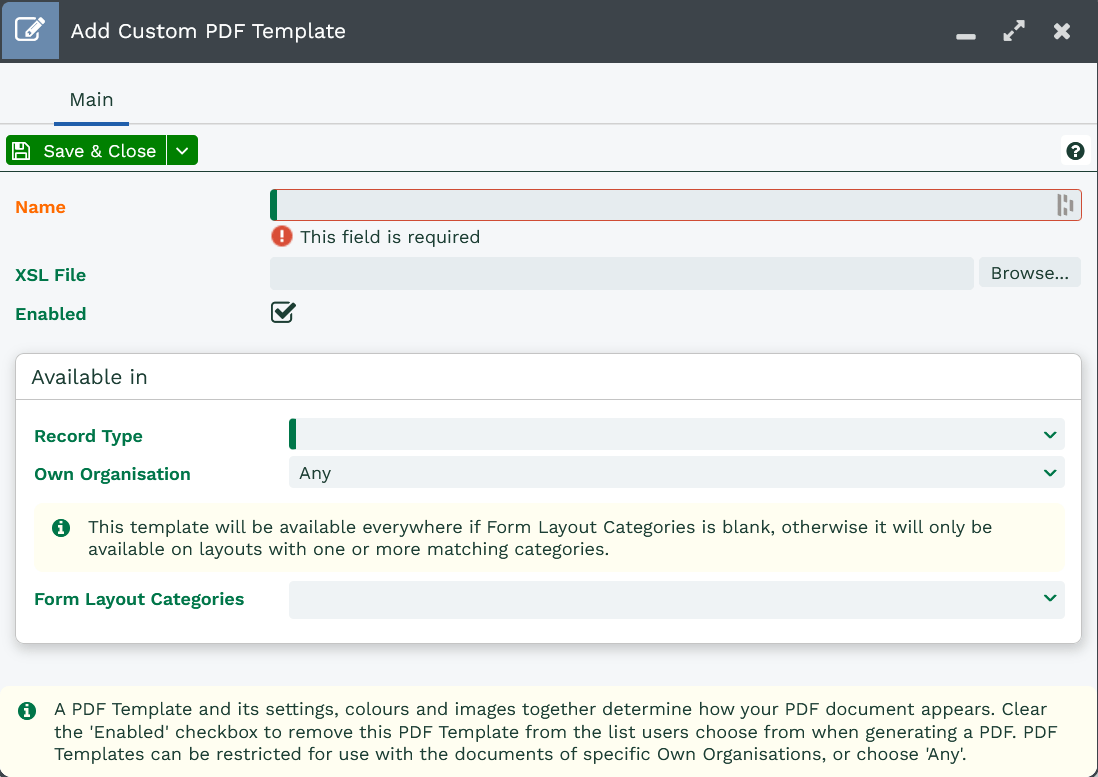
Name: The name of your PDF as it will appear to users when selecting which PDF to generate.
NOTE: Any Spaces entered in the PDF Name will be replaced with underscores when the Template is saved.
XSL File: This is where you will need to upload your .xsl file that you have configured.
Enabled: This checkbox makes the PDF available for users to select, if you wish for this to be hidden uncheck the box.
Record Type: Select the Record Type that you want this PDF to be accessed from, if you want the same file to be generated from different Record types you will need to upload multiple PDF Templates
Own Organisation: specify whether this PDF should only be generated from a specific Own Organisation, this may be required where different Organisations have different terms or branding. Similarly to Record Types, if you have a different Template for each Own Organisation you will need to upload multiple PDF Templates.
Template Categories: If you want to make it so the PDF is only available on specific Form Layouts you can apply a Template Category. The PDF will then only be available on the Forms with a matching Template Category. Leave this blank if you want it to be available on all Form Layouts.
Once you have saved your Custom PDF Template you are able to modify any of the Fields on this Record including any new xsl files. This will also allow you to add PDF Settings specific to the PDF Template, more information on PDF settings can be found here.
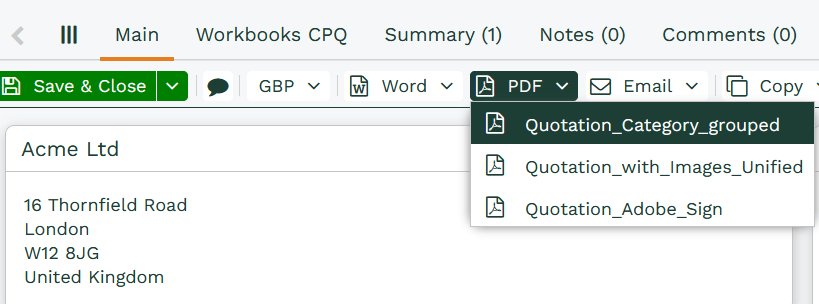
The PDF Template can now be generated from the specified Record Type, providing the Own Organisation and Template Categories are as specified.
Examining the XML-formatted data
When Workbooks generates a PDF document the web browser downloads it from a URL like this:
https://secure.workbooks.com/accounting/quotations/4612.pdf?template=218
This URL includes the internal ID of the document and template together with the format of output which is required: pdf. Replace pdf with xml to see the XML which is available:
https://secure.workbooks.com/accounting/quotations/4612.xml?template=218
XML structure
The XML contains a lot of data, much of which will not be needed by the template. A typical XML document generated by Workbooks looks like this in outline (fetch a real one using the technique above to find out more):
<hash>
<id type="integer">4612</id>
... lots of fields ...
<document_currency_cost amount="145.84" code="GBP">£145.84</document_currency_cost>
... lots more fields ...
<order_line_items type="array">
<order_line_item>
<type>Private::Accounting::QuotationLineItem</type>
...
<product>
<refcode>PROD-1</refcode>
...
</product>
<imported type="boolean">false</imported>
</order_line_item>
</order_line_items>
...
<text>
<Tax_Point_Date_Label>Tax Point</Tax_Point_Date_Label>
<Header_Text_Colour>rgb(0,0,0)</Header_Text_Colour>
<website>http://www.mywebsite.com/</website>
...
</text>
...
</hash>As you can see, there is an array of /hash/order_line_items and a set of settings under /hash/text: using the PDF Settings within Workbooks Configuration you can add additional settings which appear here. Other related fields and objects are also included within the XML.
XSLT
As previously mentioned XSLT is used as the templating language for PDF output documents within Workbooks. Currently, we are using v1.0 of the XSL coding language. Various tutorials exist on the web and there are also several books available. We suggest you start with unified.xsl. A code snippet can be seen below from the unified template which iterates over each line item on your Workbooks record:
<xsl:value-of select="/hash/text/Line_Total_Label"/>
    <!-- extracts the setting called Line_Total_Label which is configured in the PDF Settings within Workbooks. -->
<xsl:for-each select="/hash/order_line_items/order_line_item[contains(./_preload_product_id, 'SHIPPING')=false()]">
    <!-- Specify the code to iterate over. Typically this would be a table with rows and cells -->
</xsl:for-each>
The above introduces a block which is processed for every line item where the Product ID does not contain the string “SHIPPING”. The behaviour can be reversed by changing FALSE to TRUE. The code will then process for every line item that does contain the string “SHIPPING”.
The example XSLT (unified.xsl) includes configuration which applies when the document is being produced in Landscape mode as opposed to in Portrait mode. Within the XSLT you can tell the mode by testing the setting /hash/test/Page_Orientation (which is set to ‘Landscape’ if the template’s name ends in _landscape).
In particular, note that XSLT is not forgiving with regard to the number of columns in a table. If there is a cell which should be put in a non-existent column then the template will fail to render and you an error will be visible.
An example XSL template
Because unified.xsl is used in a wide variety of contexts it is particularly complex and contains a lot of ‘if’ and ‘case’ statements. A custom template will often be much simpler.
For example, this template produces a page containing only an object_ref.
<!-- A very simple XSLT intended to be adapted for test purposes. -->
<xslt:stylesheet xmlns:date="http://exslt.org/dates-and-times" xmlns:str="http://exslt.org/strings" xmlns:xslt="http://www.w3.org/1999/XSL/Transform" xmlns:fo="http://www.w3.org/1999/XSL/Format" xmlns:xsl="http://www.w3.org/1999/XSL/Transform" version="1.0">
  <xslt:output indent="yes" encoding="utf-8"/>
  <xsl:template match="/">
    <fo:root>
      <fo:layout-master-set>
        <fo:simple-page-master master-name="Letter Page" page-width="11.7in" page-height="8.3in">
          <fo:region-body region-name="xsl-region-body"/>
        </fo:simple-page-master>
      </fo:layout-master-set>
      <fo:page-sequence master-reference="Letter Page">
        <fo:flow flow-name="xsl-region-body">
          <fo:block>
            <fo:inline>
              <xsl:value-of select="/hash/object_ref"/>
            </fo:inline>
          </fo:block>
        </fo:flow>
      </fo:page-sequence>
    </fo:root>
  </xsl:template>
</xslt:stylesheet>