


Event Tickets
Tickets are generated automatically once a Product has been selected and purchased through the Portal, or once an Order for Event Products has been Posted.
Once the purchase has been completed the Attendees are able to start populating the information on their Tickets from within the Portal; providing information such as the Attendee’s name, Job Title, Employer and any additional information you may require such as dietary requirements.

Note
Tickets can also be created or edited within Workbooks if for example a sale was made over the phone or you were asked to amend / update tickets.
You can create a Ticket from the Tickets tab of the Event or Session by selecting Add Ticket.
Once the Ticket has been created a unique Ticket code will also be created, which can then be used to check in attendees at the event. This is used to confirm that they are eligible to attend and that they have attended. This can be followed up by the Sales & Marketing Team as a part of post campaign management.
Like Sponsors and Speakers, Tickets have customisable Form Layouts so new Fields can be added to the Ticket that may be more appropriate to the Events you are running.
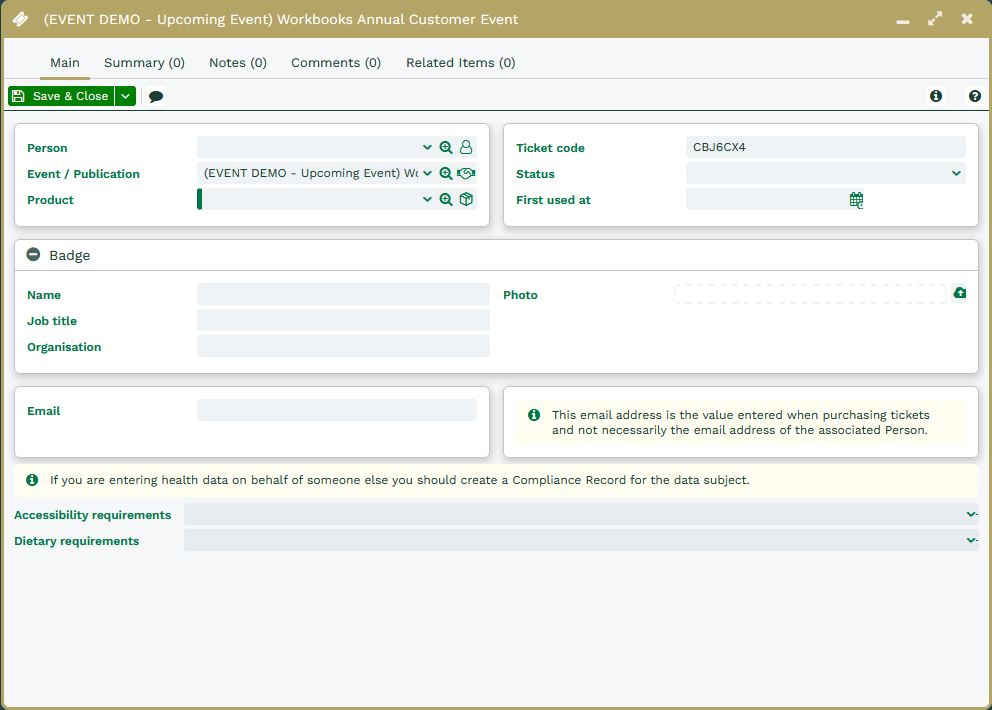
Person: This needs to include at least the basic information required in order to create an attendee’s badge, however if an email address is provided then the Process will look up People and Leads and relate the Ticket to them.
Event: The name of the Event that the Ticket entitles the User to access.
Product: The Product they have purchased, such as General Admission or seats at a table.
Badge: The Information under the Badge section can then be printed out to form your Attendee’s badge information. This contains general information about the Attendee such as Name, Job title, their Employer and can even include a photo.
Dietary Requirements: If you are providing catering at the event you will need to be sure that you are catering for all Attendees’ dietary requirements. This is a Standard Picklist called “Dietary Requirements” which is unrestricted so new values can be added in the Portal.
Accessibility requirements: Similar to Dietary requirements, this provides you whether you will need to provide guests with anything specific for their requirements. It is controlled by a Picklist called “Accessibility Requirements”.
Tickets and Product Bundles: If you have created a Product Bundle, once the Product has been purchased a unique Ticket will be created for each attendee. For example if you sell a Product Bundle which is 5 Tickets at a discounted rate, the Bundle will create 5 Tickets and the Attendee can then fill out their information for themselves and the other four people.
Note
The Tickets tab is editable as a grid. Users need the “Allow Sheet View for Tickets” capability for this.