GatorMail – Dynamic Content
Dynamic Content is a tool available within GatorMail that can save you time while also improving audience engagement with your Campaigns. It allows you to send one email, with different content, imagery, and buttons, to different parts of your audience, helping further personalise emails and as such provide a tailored email that will hopefully provide you with a higher level of engagement than a generic email. For example, you can change the email sender to appear as a customer’s account manager or change the language of an email for recipients in specific countries.
Dynamic Content relies on the information stored on the Audience record within GatorMail and as such can you can map information from the Person or Lead record in Workbooks to help you create these personalised emails.
We have created a worked through example of where data can be taken from Workbooks and used with Dynamic Content, which can be found below.
Using an Account Manager’s details as a Dynamic Sender in GatorMail
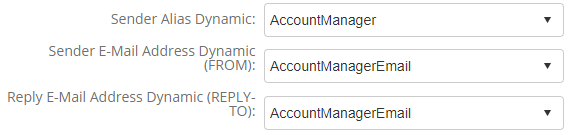
It is possible within a Campaign to configure a Dynamic Sender, this can change the sender Alias, the from address and the reply to address. This means that you can make an email to appear to be sent from a customer’s Account Manager rather than your marketing team, this should be a name that your customer recognises and as such is more likely to open the email.
For more information on configuring Dynamic Senders we would recommend reviewing Spotler’s Help Site.
By default you cannot map the Assigned to name of a Person or Lead to GatorMail however it is possible to use this to map to a set of Custom Fields that can then be mapped.
Step 1 – Create the Custom Fields
For this you will need to create at least two Custom Fields, one for the Account Manager Name and one for their Email Address.
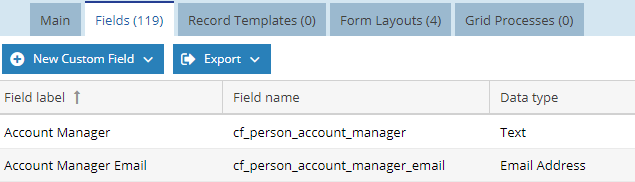
To do this go to Start > Configuration > Customisation > Record Types > People then open the Fields tab and select New Custom Field.
Here you will need to create a Text Field called Account Manager Name and an Email Address Field called Account Manager Email.
Step 2 – Map these Fields from the Assigned to
These Fields can then me mapped from the Assigned To field, it will look up the details from the Owner of the Record such as their name and login email address.
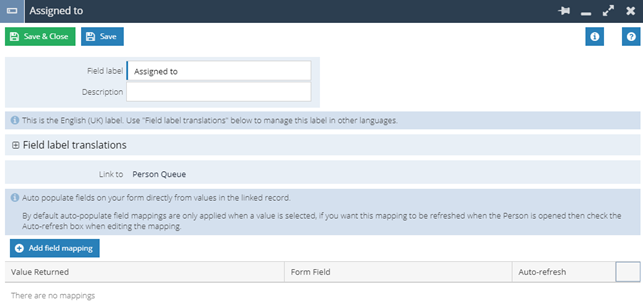
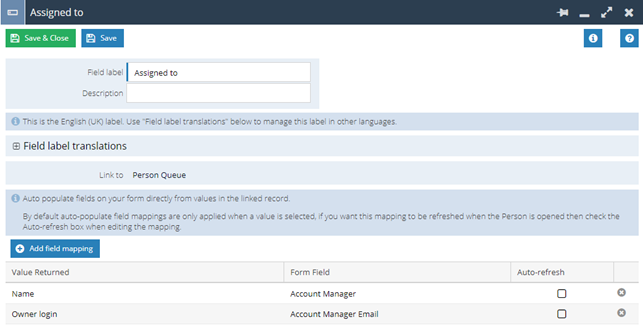
To do this open the Assigned to Field on the Person Record, from here you can map these fields from the owner by using the Add Field Mapping button.
For the Account Manager Name you will need to set:
Value Returned: Name
Form Field: Account Manager Name
For Account Manager Email you will need to set
Value Returned: Owner Email
Form Field: Account Manager Email
You may wish to set the Auto-refresh setting for these, this means that when a record is opened the values will be automatically updated, otherwise the values will only change if the Assigned to field is updated.
You do not need to add these fields to your Form Layouts if you do not wish to, if you do add them you may wish to make them read only on the Form Layout so that they cannot be edited by users and so can only be used as a reference.
Note: You will also need to repeat the same steps for Sales Leads if you want to use Dynamic Sender details for Campaigns containing Sales Leads also.
Step 3 – Create the Field Mappings with Spotler
You will now need to create the Contact Fields within GatorMail so that these can be mapped, full details on this can be found on the Spotler Help Site. Both of these Contact Fields will need to be created as Text fields withins GatorMail and should look something similar to below:

Once the Contact Fields have been created you will now need to create the mapping between the two systems, full details on this can be found on our Knowledge Base page, GatorMail Field Mappings.

Once this has been done you will now be able to use these Fields for the Dynamic Sender details: