


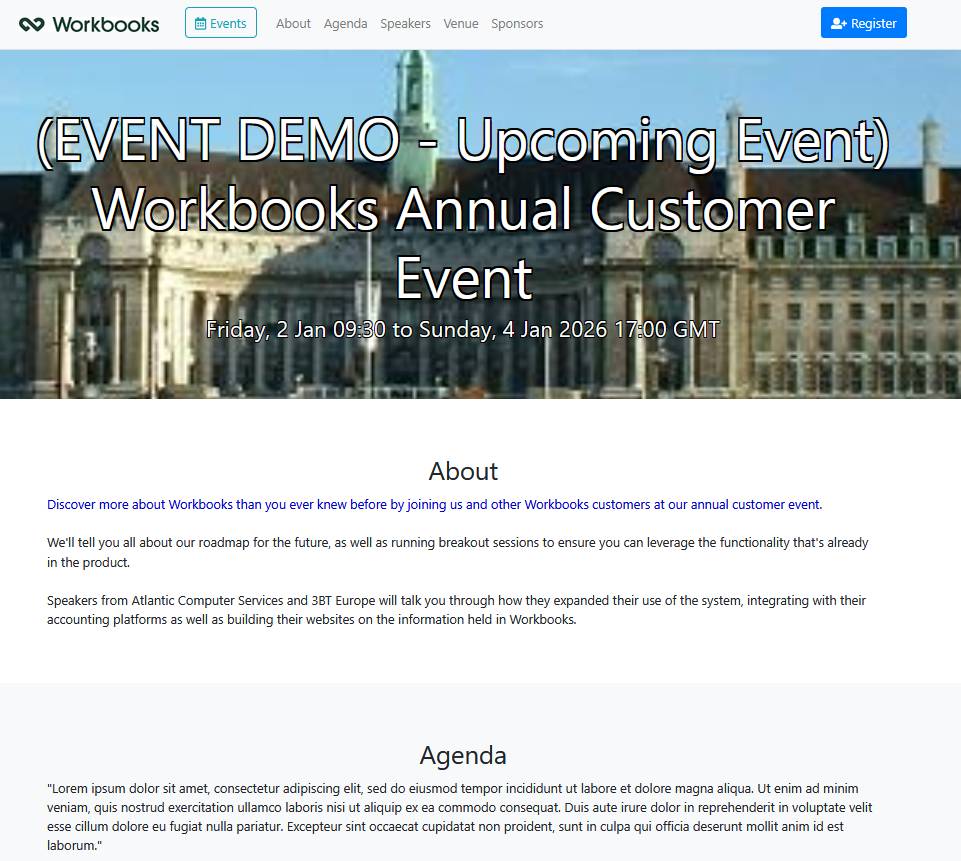
Introduction to the Event Management Portal
The Event Management Plugin forms part of the Workbooks Events Management package. The Plugin allows you to set up and install a portal through a step-by-step Wizard so that your Events can be hosted online. Once online, potential attendees will be able to view all of your published upcoming events whether they are taking place online, locally or overseas.
Attendees can purchase tickets for the events directly within the portal and payment can be taken via Stripe; generating Orders and Invoices within Workbooks that can be sent directly to the attendees before an event.
Free & Paid Events
While a payment gateway has been configured to work with the Events Portal, not every Event needs to have paid tickets. Free Events can be configured in one of two ways and provide users with a quicker sign up process as order details do not need to be configured as a part of their Ticket purchase.
To set up a Free Event you can either:
- Select None as the Payment Gateway option within the Parameters when setting up your Event Portal. Without a payment gateway this means that every Event created will be a Free Event. Note that if you do this and then create a Product for the Event that has a price, it will not appear within the Event Portal.
- Ensure all Event Products have a Unit Price of zero. If all of the Products linked to an Event are free then this will become a Free Event.
While the sign up Process becomes quicker for attendees Orders will still be created within Workbooks so that these can still be monitored as a part of the progress of the Event and to help you track Ticket sign up.