


Prerequisites for installation
Before beginning the installation, you will need to complete all of following below; while not all of these are required to install the Plugin, completing them in advance will allow for a much easier install.
Primary Contacts Report
This is required by the Plugin in order to complete the first step of the installation. The Event Management Portal requires a Report called “DLI – Primary Contacts”. This must be exact or the Plugin will be unable to find the Report.
To create this Report you will need to go to Start > New > Report > Create a report from a template Report, then find the Template – Primary Contacts report. You will not need to amend the Report set the name to “DLI – Primary Contacts” and save the Report. This will then be used by a DLI Field on Order Records for purchased tickets to your Events.
DLI Field on Orders
This is required by the Plugin in order to complete the fourth step of the installation. The Plugin is looking for a Dynamic Linked Item Field called cf_customer_order_primary_contact, if a Field already exists with this name you will need to remove this Field and replace it with the DLI in order to progress the install.
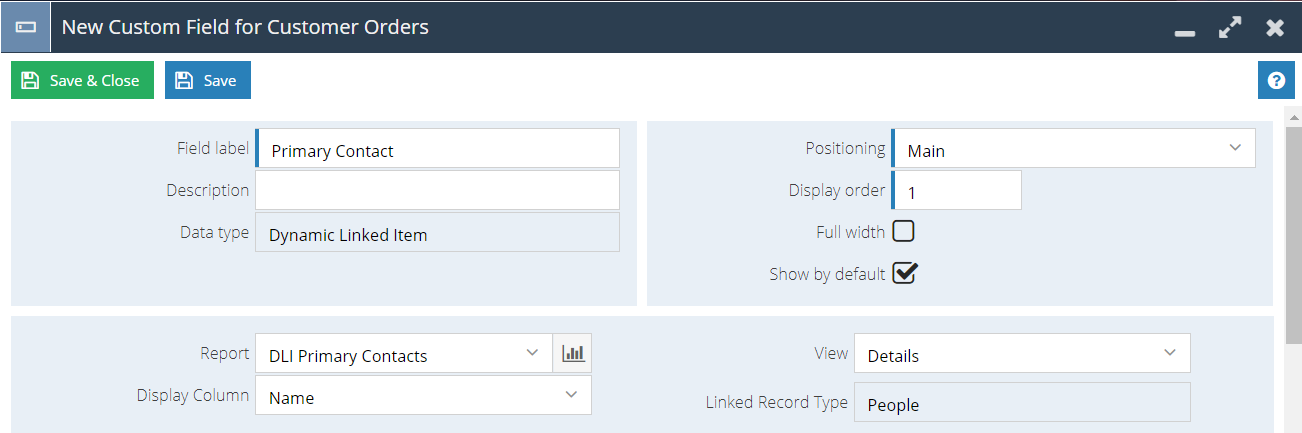
To create this Field you will need to go to Start > Configuration > Customisation > Record Types > Customer Orders, once there select the Field Tab and add a new Dynamic Linked Item Field.
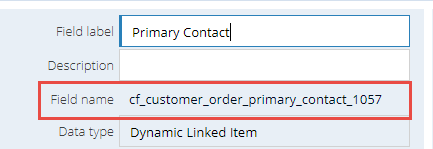
You will need to name this Field “Primary Contact” and the Field name should appear as “cf_customer_order_primary_contact”.
Note: if a field is created which has a name similar to cf_customer_order_primary_contact_1234 this means that there is already a Primary Contact field that already exists within Customer Orders. If this Field is not a DLI you will need to delete the original Primary Contact Field and recreate it as a DLI.
Once the Primary Contact DLI has been created you will need to set the Report to be the DLI – Primary Contacts and the Display Column to be the Person Name.
The DLI does not require any Constraints or Field Mappings in order for the Plugin to install, these can be set at a later date if required.
Queues
The Event Portal can create new People, Organisation, Order and Invoice Records, during the installation of the Plugin you are able to specify which Queue newly created Records are assigned to. If you have new Queues that you would like to create, you should set up the new Queues in advance. This will allow you to distribute the Orders/Invoices to other teams if needed. You can of course continue to use existing Queues if they have already been set up. Further information on creating and managing Queues can be found on our Knowledge Base.
Custom CSS
This is not required in order to use the Event Portal. Custom CSS allows you to change the colour scheme of the Event Portal to match the rest of your website. If you would like to use Custom CSS, then having this available before you start the Plugin installation will save you time when setting up the Event Portal. This will be a URL that your Web Team should be able to provide you with, if you do not have any CSS already configured more information can be found here.
Default Background, Logo & Person placeholder Images
These images are not required by the Plugin for the installation, however we would recommend having these images available before you start the installation in order to save time at a later date. We recommend that these default images are all stored within your Upload Library.
Steps to adding images to your Upload Library can be found on our Knowledge Base.
Google Map API Key
This is not required for you to complete the installation of the plugin. This only needs to be completed if you want to provide a map showing your Event’s location. You will need a Google Map API Key to do this and details on how to get the API Key can be found in Google’s Developer Guide.
Stripe Payment Keys
This only needs to be completed if you are going to be charging for Tickets at your Event. If you do not have an account with Stripe you will need to set up a new account once you this has been setup you will be provided with a Public and Private Key and you will need these available during the installation to set up your payment gateway.
Email Accounts
The Portal sends forgotten password and registration emails to attendees, you will need to decide which email account will be sending these Emails. If this account does not already exist within Workbooks it will need to be set up, more information on this can be found on our Knowledge Base.
Email Templates
If you want to set up your own custom email templates for Registration and Forgotten Password Emails that will be sent from the Portal, you should set these up beforehand and then access them during the installation of the plugin. We have created examples that can be used within the Template Library that are accessible for all users. More information on setting up Templates can be found on the Knowledge Base.
Note: If you do not set Templates on the Portal before attendees start registering then they will receive blank Emails from you and need to request that these are resent to them.