Product Bundles
Prerequisite: Product Bundles are only available for Users with Business Professional Licences.
Product bundles can be used to group a number of products together so that a single product can be selected on a transaction document to then add multiple products.
For example, you could have a product bundle called ‘Table with 10 seats’, which then adds 10 tickets (seats) to the transaction document. You can then also choose whether you want it to add it as one line item or display it as 10 line items.
Enabling Product Bundles
To use Product Bundles, you will need to ensure that you have enabled the Product Bundles extension within Start > Configuration > Users & Security > Licences & Modules > Modules tab.
Creating a Product Bundle
Step 1: Create a new Product
To create a new Product Bundle, you will need to create a new Product via Start > Marketing > Products > New Product.
Step 2: Create the Products to be included in the Product Bundle
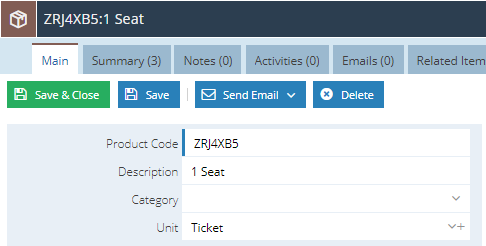
You should start by creating the Products which need to be included in the Product Bundle, in this example, we’ve are creating a Product Bundle of “Table with 10 seats”, so we need to create a Product of “1 Seat”. The Product Code will automatically be generated, but you can overwrite this with your own if you prefer.

Once you have completed all relevant fields, including the quantity, pricing schemes and default prices etc. (if relevant), click Save & Close.
You will need to repeat this for any products that are unique within your bundle. In this example, we only need to create the Seat once, not 10 times.
Step 3: Create the Product Bundle
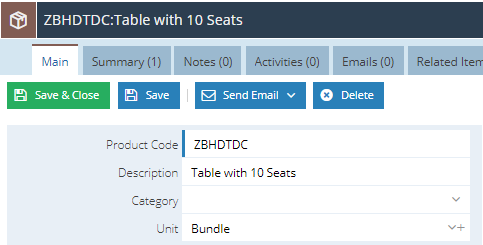
Now you have your Products set up, you can create your Bundle i.e. your “Table with 10 Seats”. To do this, you will need to create another product in the same way as Step 2 above.

This time, click Save.
You will notice that you now have additional tabs next to Pricing Schemes and Supply Schemes called Component Products and Bundles.

The Component Products tab will show you the products which make up this bundle, and the Bundles tab will show you ay Bundles that this product is included in.
Step 4: Add the Components to the Bundle
You will need to click on Component Products > Add to add the seats to the bundle.

This will display a new window where you will need to select the Component and Quantity.

Ticking the ‘Expand on add’ checkbox will expand the bundled products as different line items on transaction documents, whereas keeping it unchecked just keeps it as a single line item.
Step 5: Use the Product Bundle
To use the Product Bundle, you simply need to add the Bundled item to a transaction document. When added, it will show as a single line item.

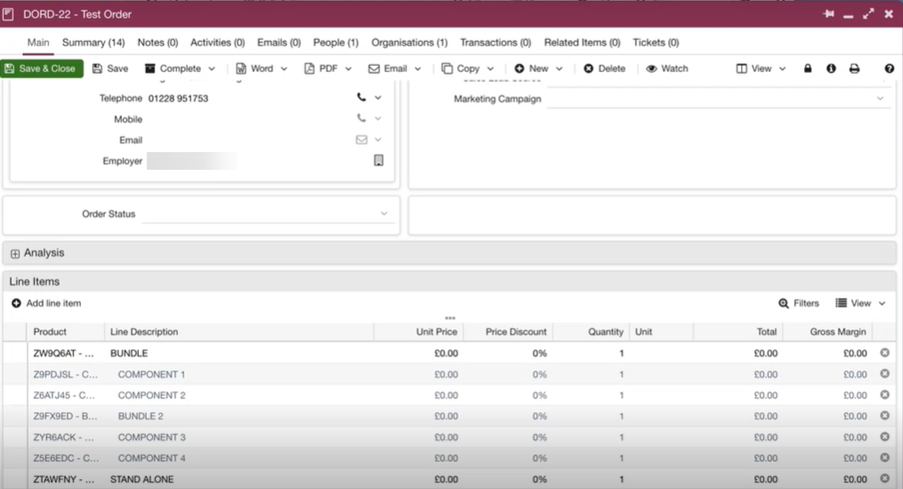
After saving the document, any unique products will be split onto different line items below the Bundle line item with the Product reference slightly indented. If ‘Expand on add’ has been selected for any of the Component, it will create a new line item for the quantity available.

Reporting on Product Bundles
Line items (on customer orders) can either be a bundle, component in a bundle or a stand-alone product. You can specify which one when setting up products. These can then be added to a customer order. Here’s an example:

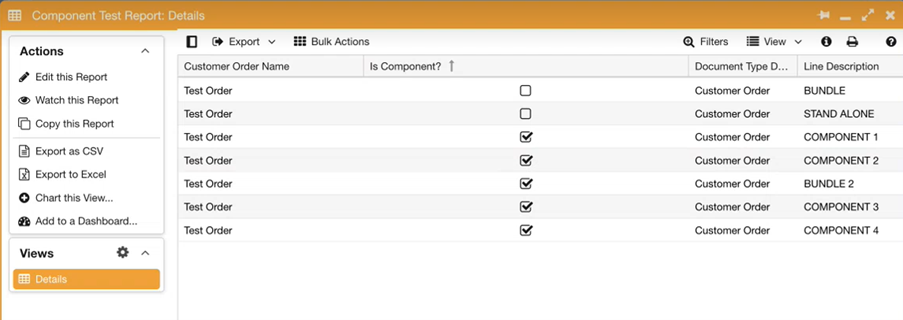
A column containing a checkbox can be seen within reports on customer orders. This indicates whether a line item is a component in a larger bundle or just a standalone product. This can be used in reports to view line items that are components and even exclude any that are not.
To do this, you need to build a report based on customer orders. There are two specific columns that should be added to the report. They are as follows:
Line Items -> Line Description
Line Items -> Is Component?
The Is Component? check box should be only be checked for line items that are components. You can apply a criteria to set this to false if you would only like to show line items that aren’t components.
The report will look something like this:
