


Report-based Custom Fields
Examples of how you can use Workbooks to incorporate reports into your custom fields, such as by using a Report as a Frame, on a Tab, or as a Cell.
Workbooks allows you to incorporate reports into your custom fields, so that you can dynamically display data in a lot broader and more efficient way.
Each time you open or save a record, the data will automatically refresh so that it is displaying the most up-to-date information from the report at that time.
There are two ways that you can incorporate reports into your records; either as a frame of the entire report view, or as a report cell returning a specific singular value from the report.
Report Frame
To incorporate a report as a Frame into the record view, select the custom field type ‘Report’.
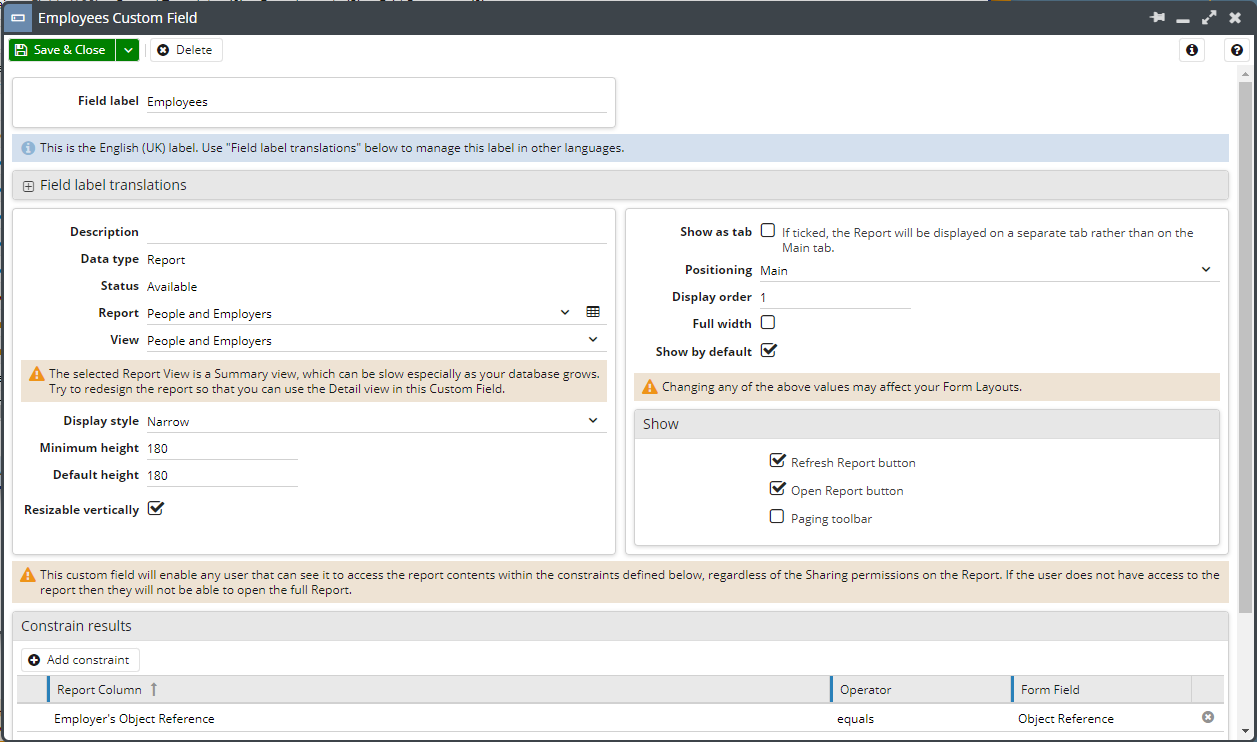
In this example, we want to return a report that will show this Organisation’s employees, so we are using the report of “People & Employers”.
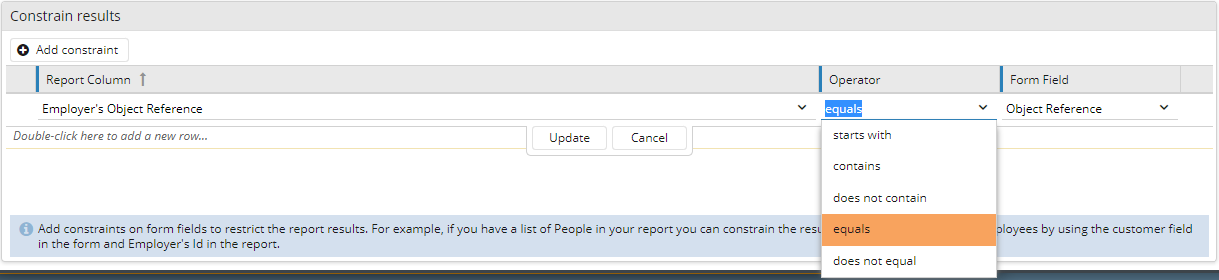
To filter down to the People that are linked to this Organisation as their employer, we have mapped the Form Field “Object Reference” to the Report Column “Employer’s Object Reference”. The operator in this scenario is ‘equals’, but it is possible to use other operators like ‘greater than’ or ‘contains’.
The size of the Frame can be altered by changing the “Minimum Height” and “Default Height” values.
You are also able to select to display a “Refresh” button and/or an “Open Report” button to make sure that you are always able to access the most recent data, using the checkboxes in the ‘Show’ section.
The settings above will now configure a Frame like below to be embedded within the Record View, it can be navigated and used as if it were a normal Report.

Report on a tab
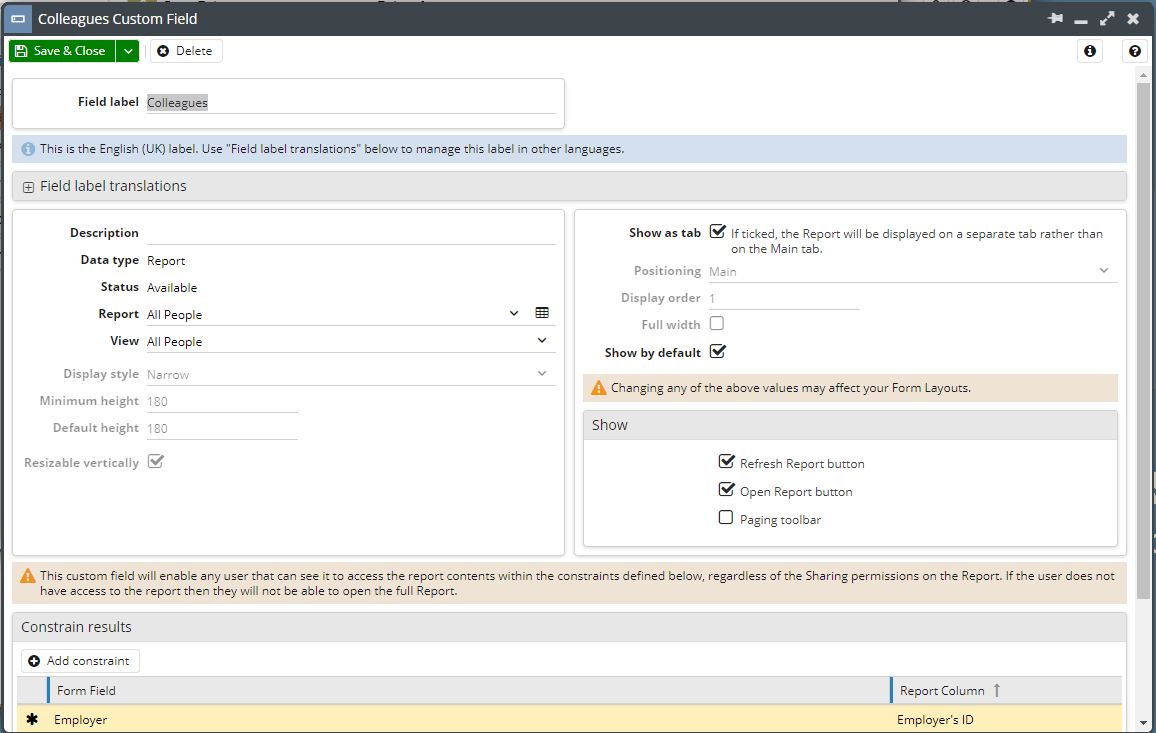
To incorporate a Report as a tab on a Record, create a custom field of type Report. Then tick the checkbox highlighted in the screenshot below, this will make report available for use as a tab on a Form Layout.
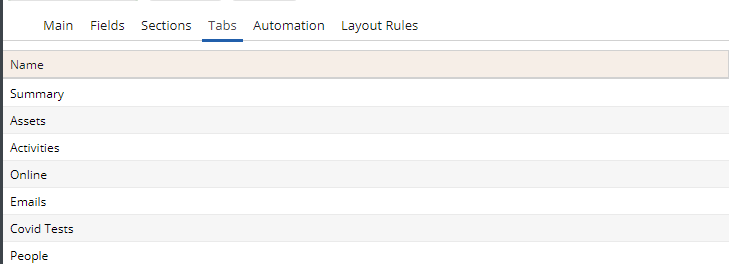
This Report tab can then be found in the highlighted section below when customising the Form Layout.
Report cell
You can also select to create a custom field based on a ‘Report cell’, which instead of returning a list of results, will just return a single result specific to the Record in question.
After adding a Report cell custom field, you are presented with a similar view to that which is seen with Report Custom Fields

In this example we will use the Report cell to show what the Total Sales is for a particular Customer. Firstly we need to select the relevant Report, and then we need to narrow it down to the column value that we wish to retrieve, in this case ‘Total Sales’ on the ‘Billings by Customer’ view.
In order to retrieve the data relevant to the Record we want, we need to add constraints to tell Workbooks which row to look at. In this example, we only want the row for the Organisation we have open, so we will constrain by the Id.
NOTE: If you have more than one row with the same value, then the report cell will not know which row to show. Make sure that you are constraining on a unique identifier.
After adding this field, we can now see the relevant value returned in Workbooks.
![]()
NOTE: Report Cells can only load as quickly as the underlying report does. The report cell will not display results if it takes more than 30s to load.