


Installation
To set up the integration, install the Telephony Integration Plugin into your Workbooks database. The integration can only be done by the System Admin.
Step 1: Install the Plugin in Configuration
Start > Configuration > Automation > Plugins > Add Plugin.
From here, select Script Library and then Telephony Integration. Select Install to begin the Plugin Installation.
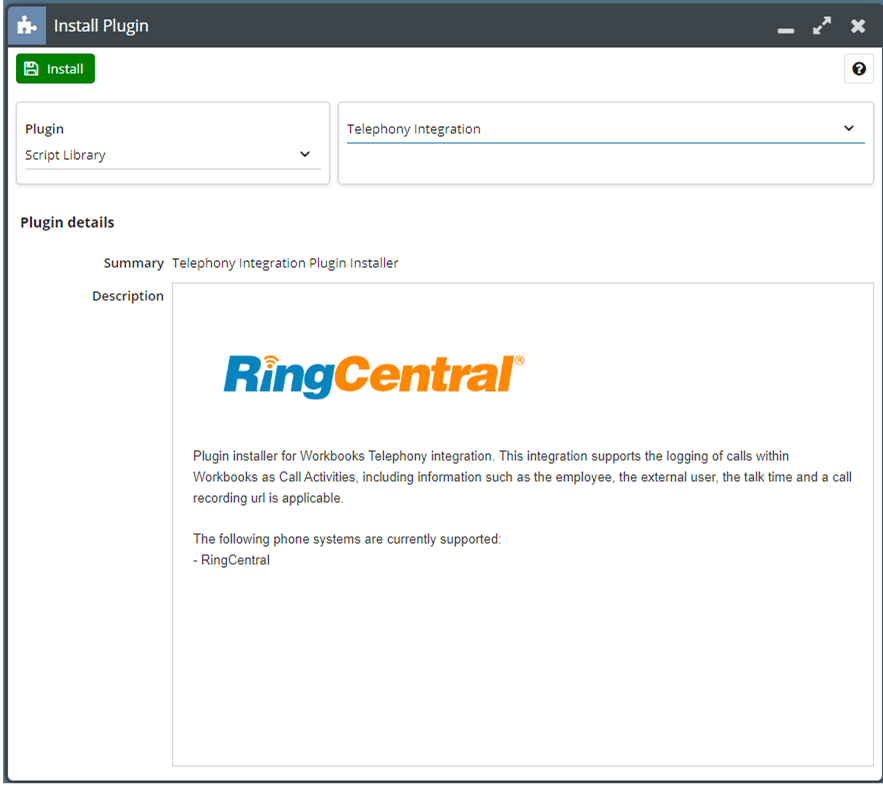
The Plugin asks for confirmation to go ahead with the installation. When you click continue, a number of Custom Fields and Automated Processes required by the integration will be automatically installed. More information on the configuration that is created can be found here.
Once the installation is complete and a success message appears, close the installation window.
Step 2: Create Custom Fields and Processes through the Plugin
Navigate to Configuration > Other Integrations > Telephony Integration
Select RingCentral from the list of Providers and click Continue

Once continue is clicked, the plugin will prompt you to Install Dependencies. These are all the Processes and Custom Fields that are required for the integration to function. More details of the custom fields and processes can be found here
Step 3: Authenticate RingCentral
Whoever is installing RingCentral needs to have full permission to the admin module within RingCentral in order to authenticate the integration.
Once the Custom Fields and Processes have been installed, you will be prompted to Authenticate RingCentral by the Plugin.
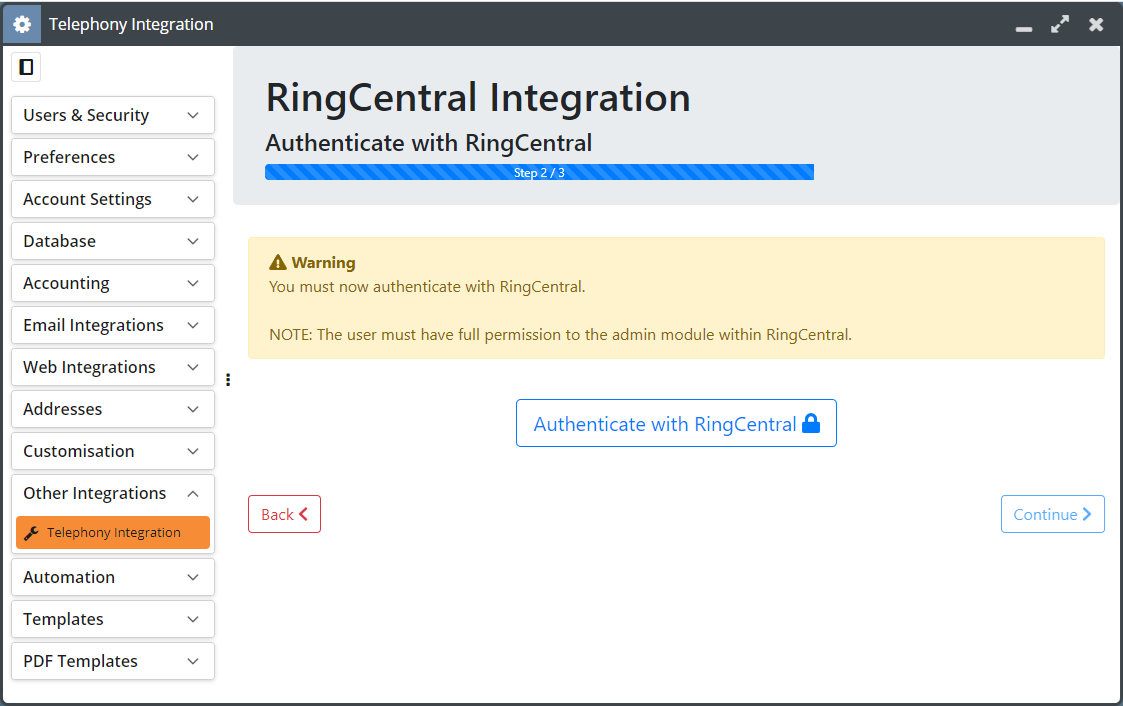
Note: When clicked a new window will pop open asking you to login to RingCentral. This window may be blocked by your browser’s pop-up blocker.
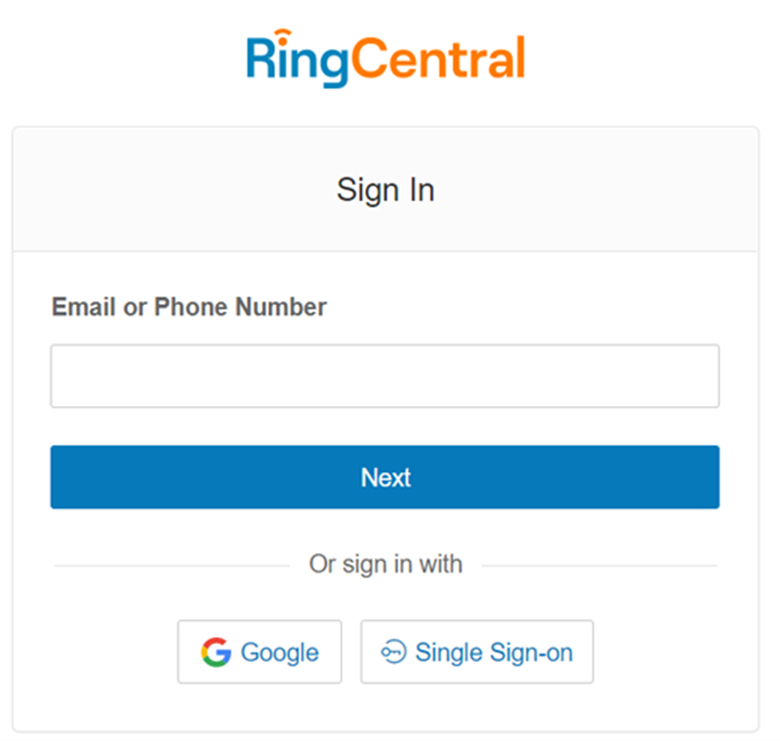
Click Authenticate with RingCentral. This will take you to the RingCentral login page where you will need to enter your RingCentral credentials. Once you are logged in, you will be asked to authorise Workbooks to use the credentials you have logged in with. To continue using the integration, click “Authorise”.

The integration requires access to different areas of RingCentral to enable a successful sync. Please ensure all the permissions/capabilities that are pictured above in the Access Request screenshot are included in your RingCentral licence.
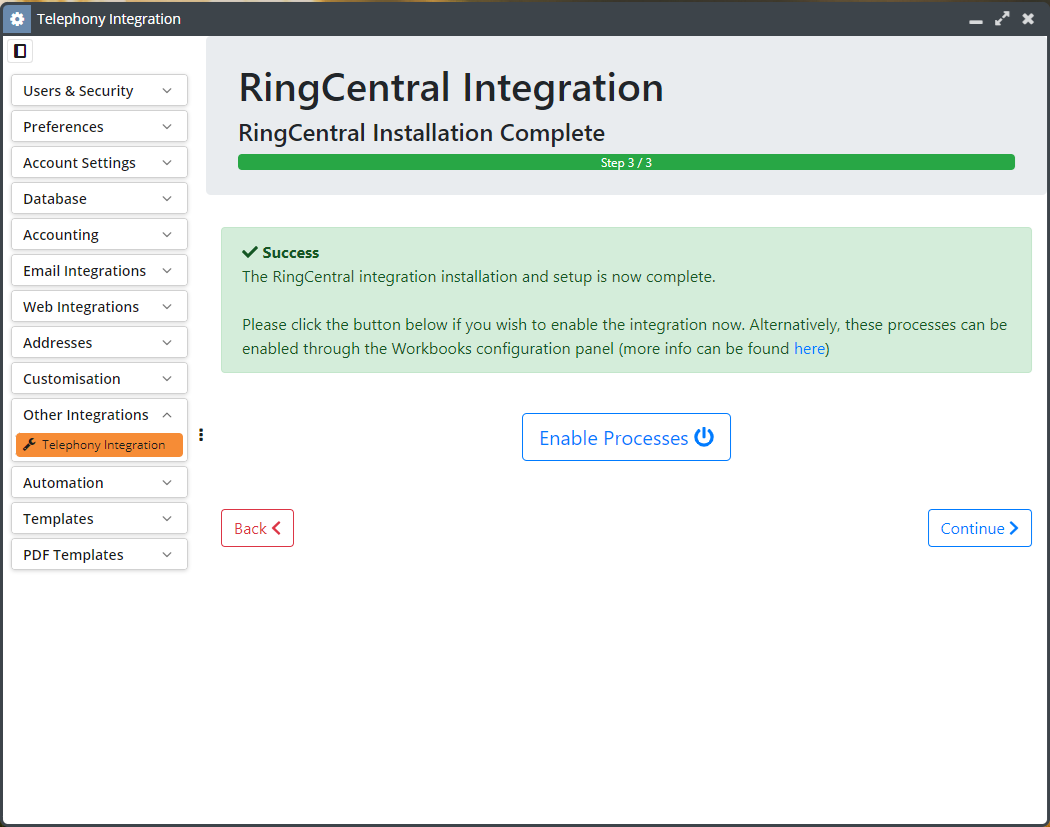
Once authorisation is complete, you will be taken back to the authentication screen of the plugin. Click Continue.
Step 4: Enable Processes from Plugin
The final step of the integration is to enable all processes by clicking Enable Processes within the Plugin.
Note
Once installed, if the phone icon or RingCentral widget within Workbooks disappears. You can resolve this by clearing your browser cache and cookies > log out of and back into Workbooks > The phone widget should then appear. If this does not resolve the issue, please contact Workbooks Support for further investigation.