Creating a Target set for Closed Sales amount per Sales Person by quarter
Introduction
This worked example will go through the steps required to create a Target set for your Sales Team, giving each member a closed sales value target per quarter.
NOTE: In order to follow this example, you will need the View, Create, and Modify Targets Capabilities.
Step 1
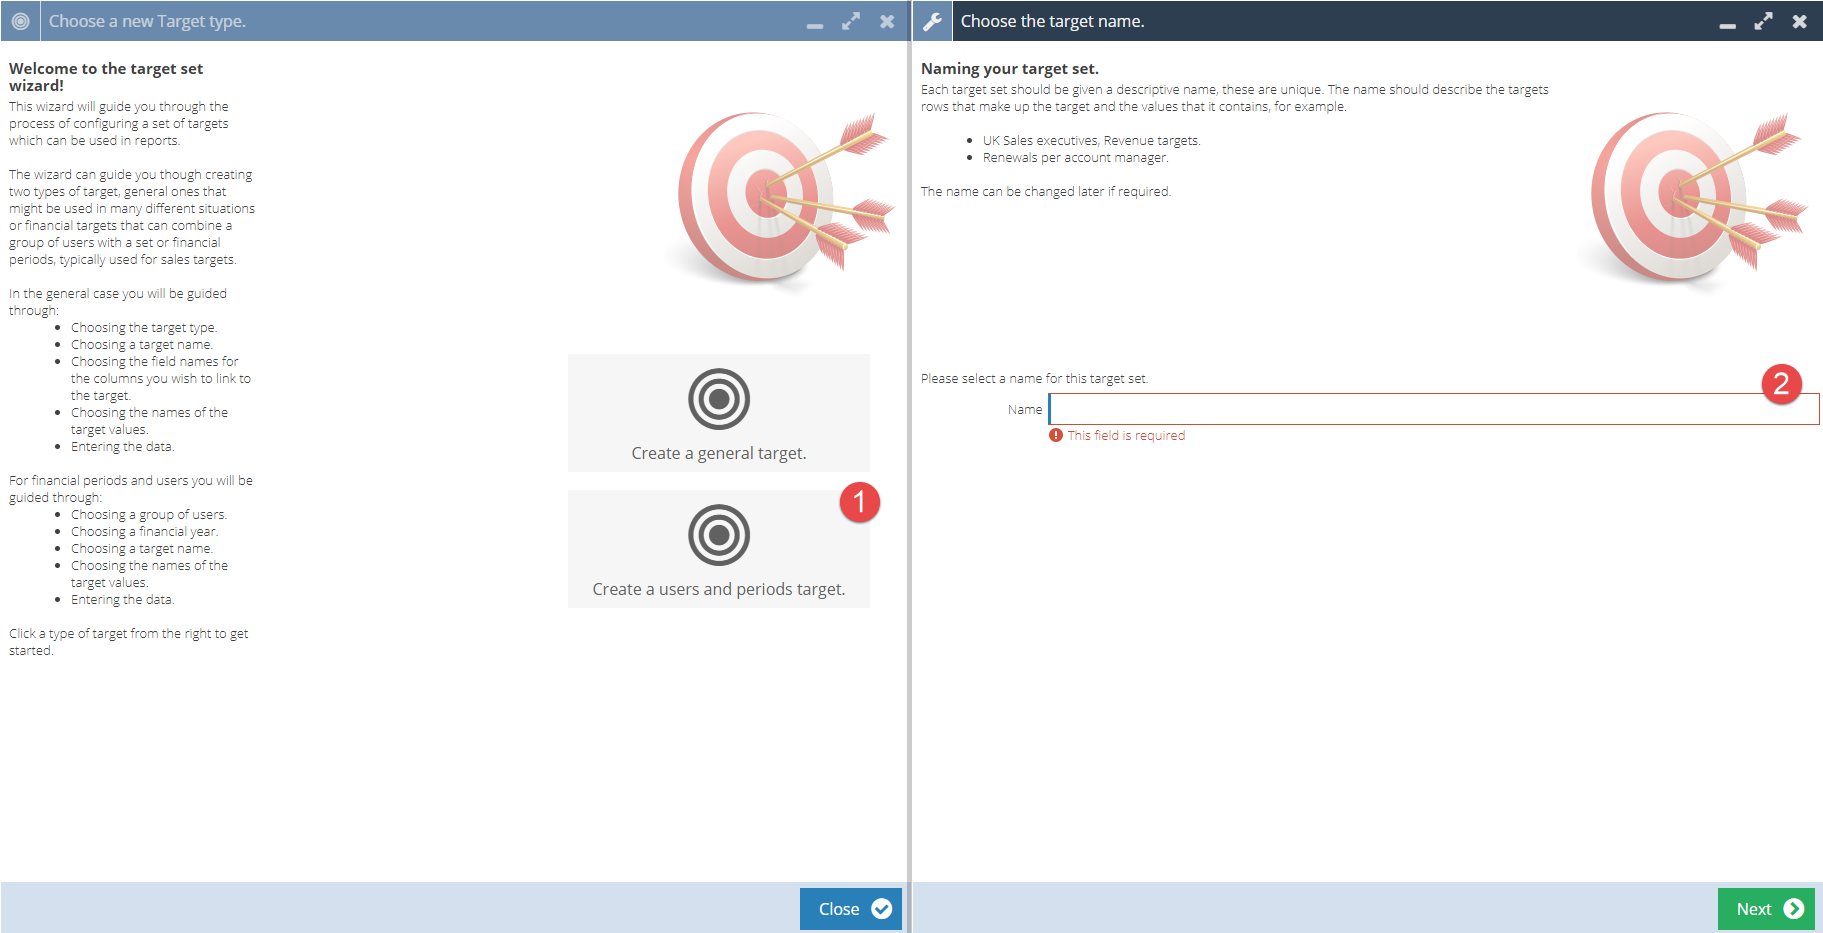
Navigate to Start > Reporting > Targets and select New Target Wizard from the Landing Page menu, then choose ‘Create a users and periods target’ and enter a suitable name for your new Target set, e.g. Sales Targets FY2021/22.
Step 2
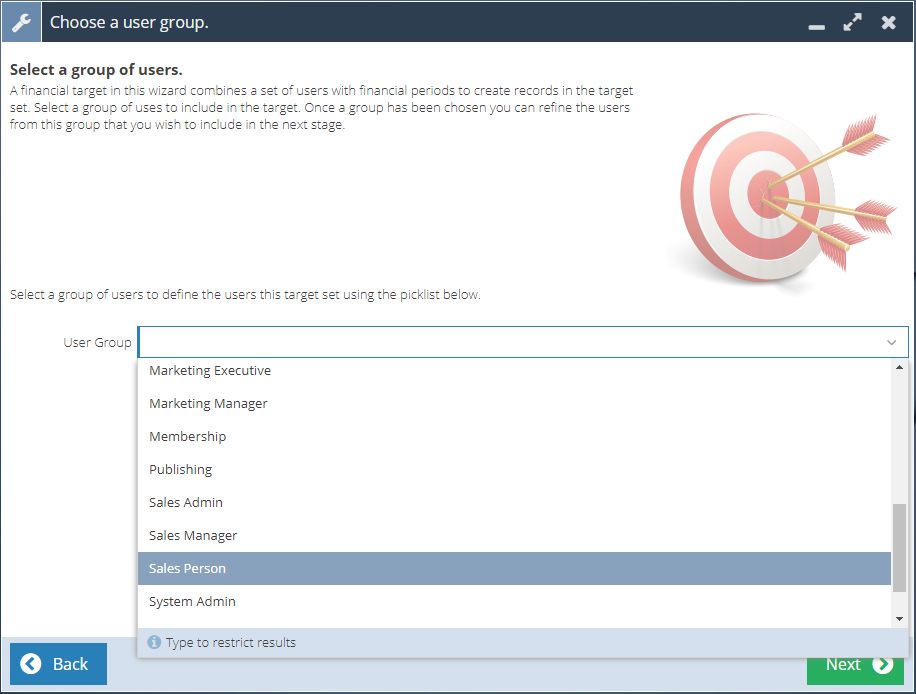
Select which User Group you would like this Target set to apply to, in this case your Sales Team User Group will be the best option, if you have one configured. This step filters the number of Users you can choose from in the next step.
Step 3
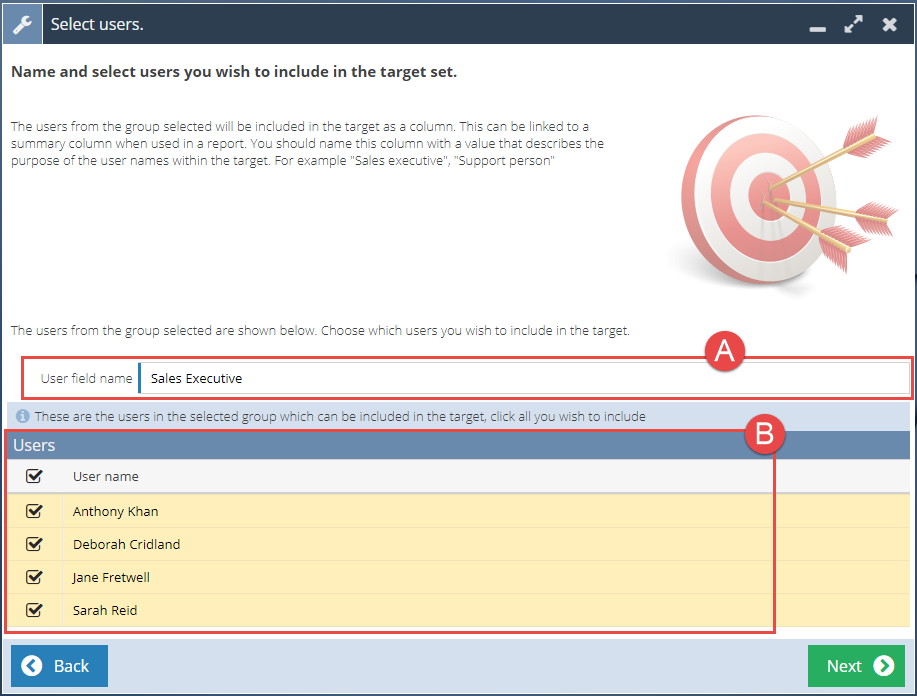
In the ‘User field name’, enter a suitable name for that group of Users – something like ‘Sales Executive’ or ‘Sales Person’ would be appropriate in this situation.
Below that, select which Users to include in this Target set.
Step 4
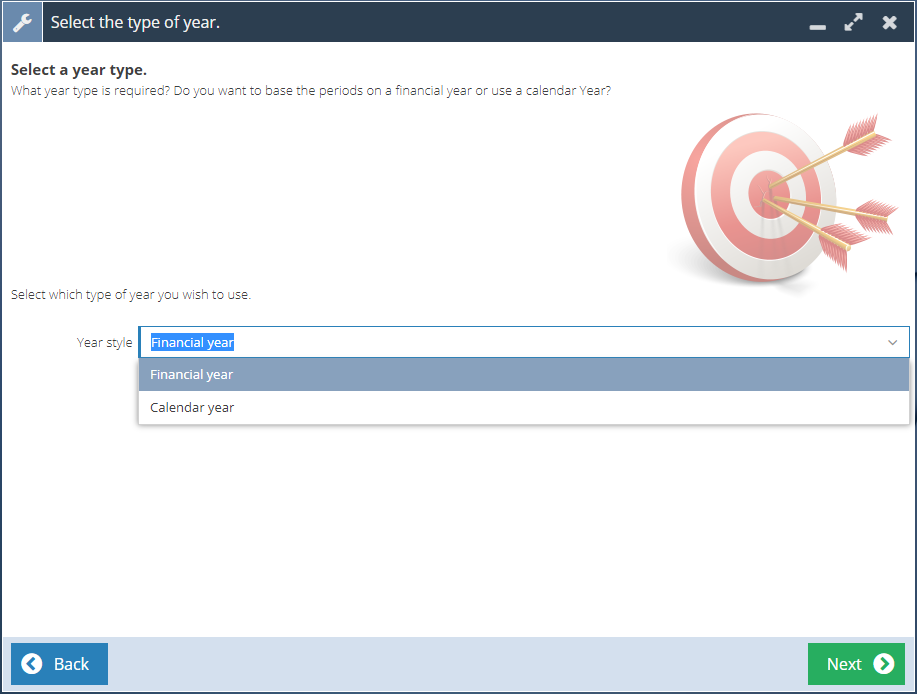
Here you can choose to base your Targets on either a Financial Year or a Calendar Year; for this example we will select Financial Year.
Step 5
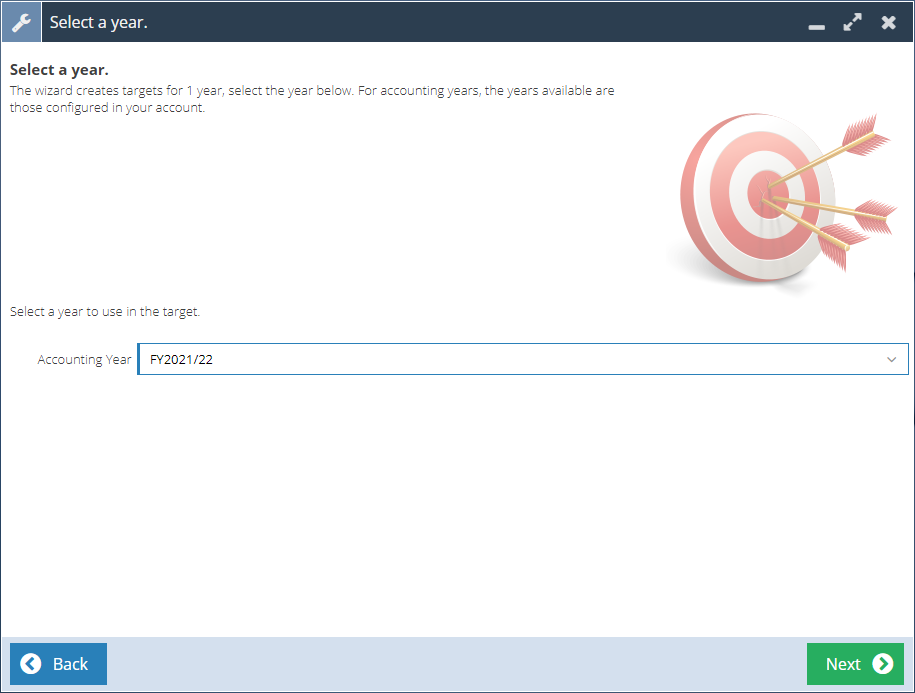
Then you select which Accounting Year your Target set will apply to, and the Period style that will be used: would you like Monthly, Quarterly, or Yearly Targets?

Step 6
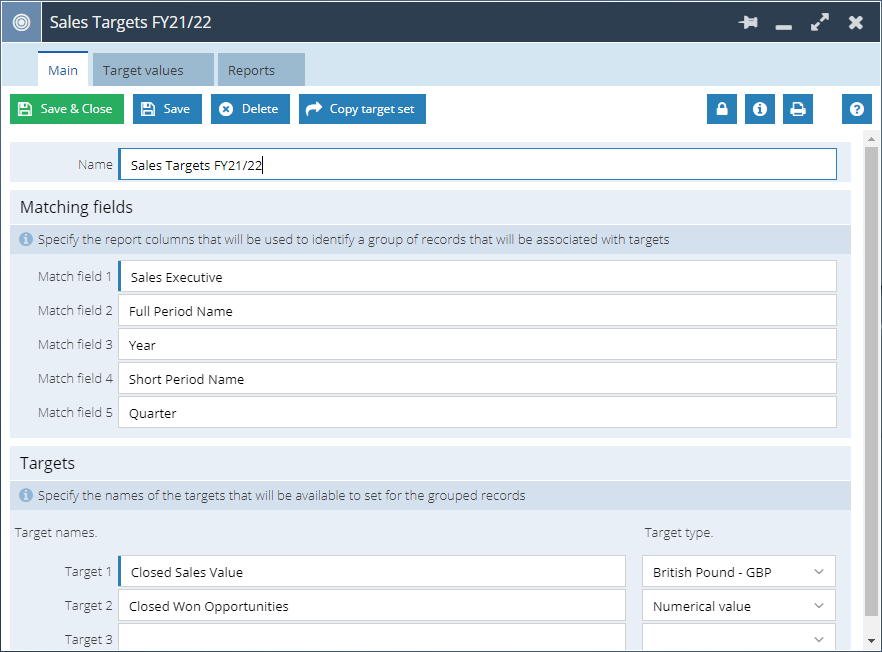
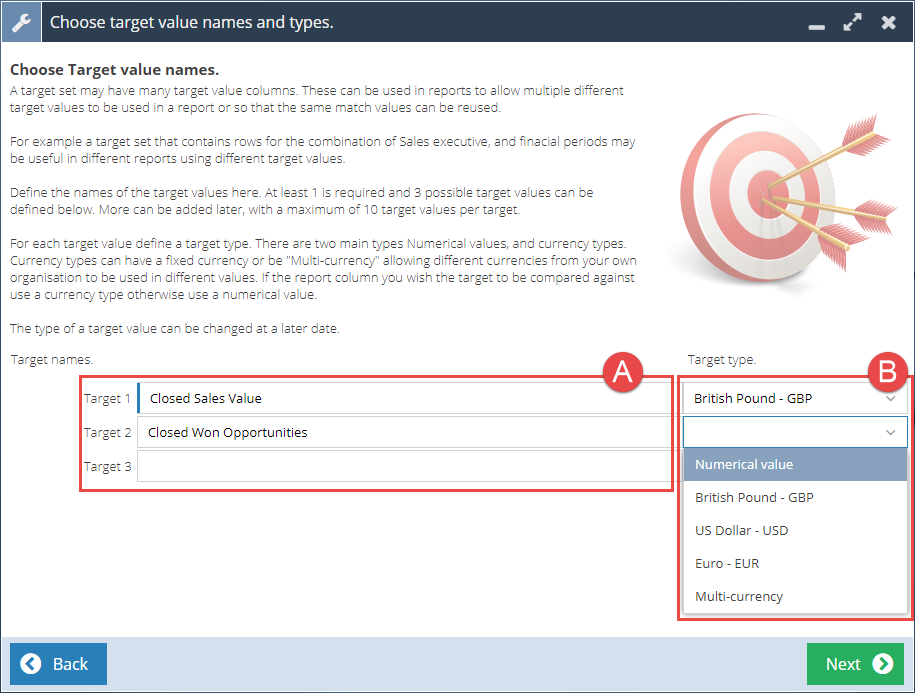
The next step is to name the Targets we are creating and choose what Target type they are. You can name up to 10 Target values per Target set. In the screenshot below you can see that there are two named Targets: Closed Sales Value which is based on GBP, and Closed Won Opportunities, which is going to be a numerical target.
Step 7
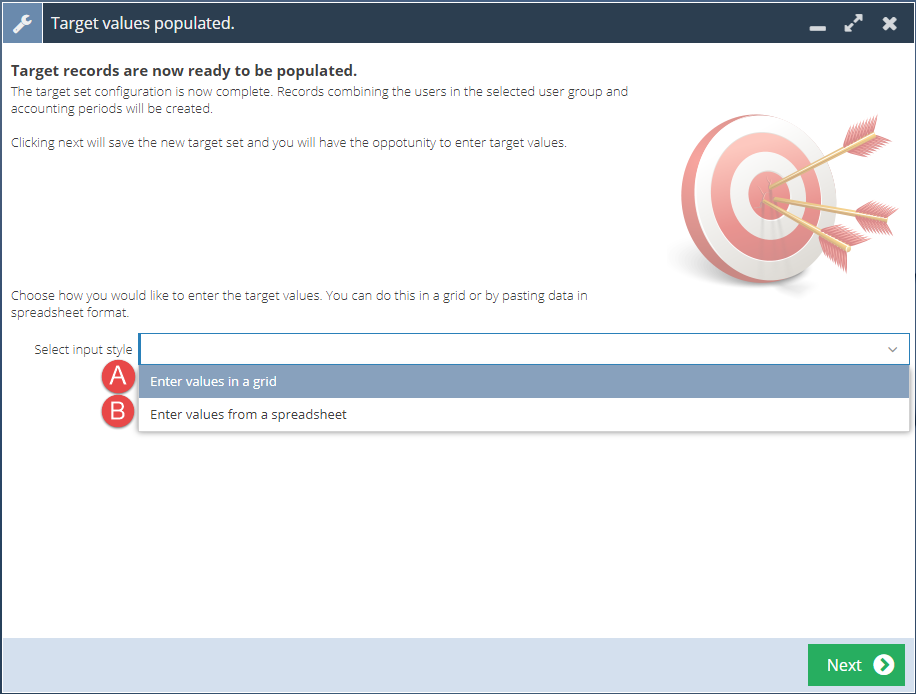
Now you must select how you are going to enter the values into your new Targets: ‘Enter values in a grid’ allows you to manually enter each value per User, per Accounting Period, while ‘Enter values from a spreadsheet’ allows you to copy and paste values from Microsoft Excel or another spreadsheet software. Both options will be covered in the next step in more detail.
Step 8
A) Enter values in a grid
As shown in the gif below, this option involves manually entering each target into a grid that is per User and per Accounting Period. Here you can use ⭾Tab to instantly go to the next field in the grid so that you can populate the Target values efficiently.
B) Enter values from a spreadsheet
Here is an example spreadsheet to help guide you on the format your data needs to be in to copy into Workbooks. It includes quarterly targets for 13 people that can be made as a Target Set. At the top, there are targets for total sales value in Pound Sterling, and at the bottom there are targets for the total number of sales. Both of these data sets can be individually copied and pasted into Workbooks.
Step 10
Once you have completed all previous steps, you will be presented with an overview of your new Target set where you can make any further changes you’d like before Saving the record.