


Uploading your data
Uploading your data
To start the Import Wizard click Start > Import and from the list in the left-hand column choose the type of records you want to import. If your import file contains information for more than one Record type you may want to consider which Record you want to select.
For information on the type of records you can import along with your main record, click here.
Note: You can also start an Import from a Record’s Landing Page.
Import – Stage 1 – Upload File
Stage 1 of the Import Wizard is where you select the CSV file you want to upload for your import and perform any initial configuration for the file.
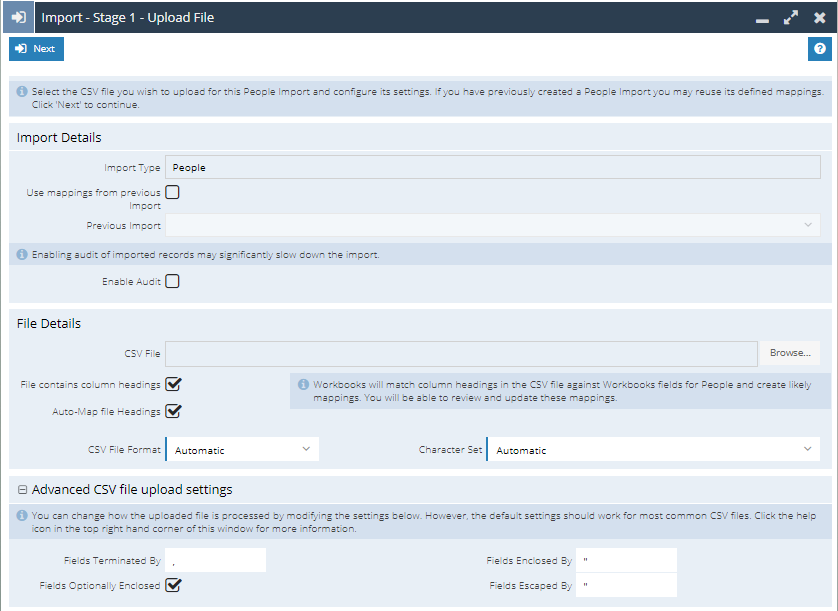
Import Details
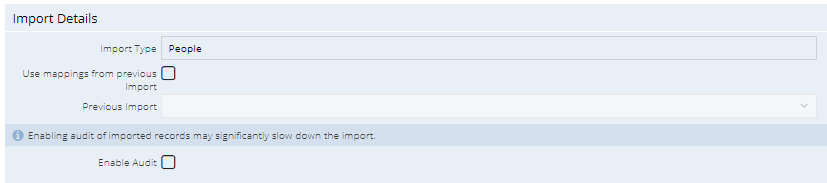
Import Type: This read only field will display the Record Type of the Import you are performing.
Use mappings from previous import: If you’ve already imported data that has some or all of the same column headings and want to repeat the mappings used in a previous import, tick the checkbox.
Previous import: If you have selected to use mappings from a previous import you will be able to select the Import job you want to use as a Template.
Enable Audit: Imports can be audited in Workbooks just like any other record type. This setting is turned off by default, this is because on large or complex Imports, such as extending to multiple Record types, as it can increase the duration of the Import. If however you are running smaller Imports this should not present an issue and will allow you to capture information changed by the Import.
File Details
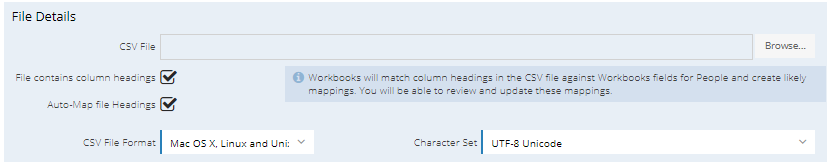
CSV File: Use the Browse Button to select the CSV File that you would like to upload to Workbooks.
File Contains Column Headings: If this is set to True, the Import tool will not attempt to import the first row of your File to Workbooks, it will also provide you with the column headings when setting up Field Mappings.
Auto-Map file Headings: If your Column Headings are similar to Field Labels used within Workbooks, for example if you created the Import file by exporting data from Workbooks or used an Import Template this setting will attempt to create Field Mappings for you automatically. It is recommended that you still review all of the mappings at Stage 3.
CSV File Format: By default this will be set to Automatic, Workbooks will analyse the File Format and select the most appropriate one so that it can decode the data. However, other Picklist Values are available such as: Mac OS X, Linux and Unix, Windows or Mac OS 9 and earlier.
Character Set: Like the File Format Picklist this will be set to Automatic by default and apply the best Character set to the Import. If you have selected a different File Format Value, the default value will change to use the most commonly used character set for that File Format.
Advanced CSV file upload settings
The default settings for how your CSV file is uploaded are likely to work for most files. However, if you need to change these settings open the reveal next to Advanced CSV file upload settings and make the required changes. Here you can change how Fields are Terminated, Enclosed and Escaped.

Import – Stage 2 – Review Uploaded Data
Stage 2 of the Wizard is where you can review a summary of the uploaded file and make any final amendments to the Import.
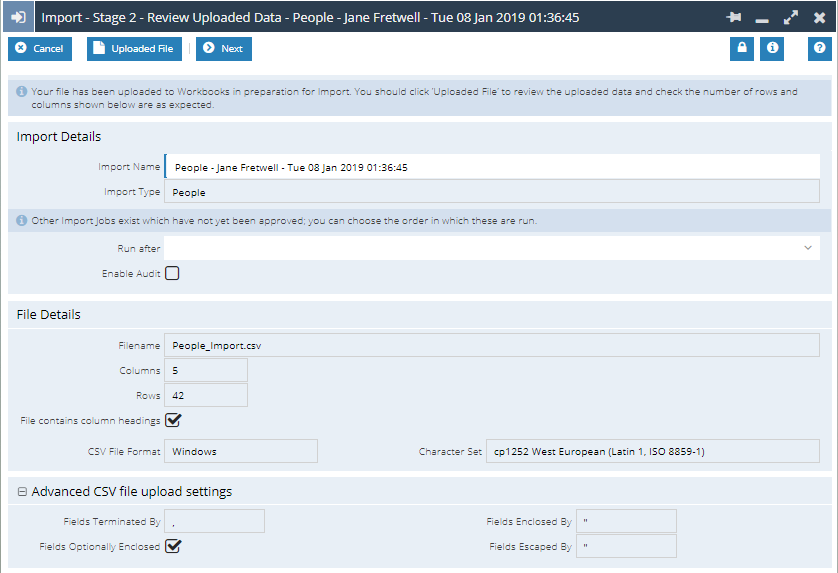
Import Details
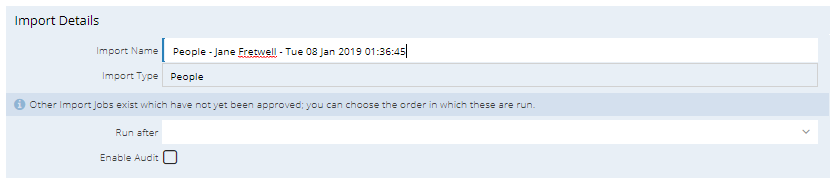
Import Name: The Import will be automatically given a name concatenating the Import Type, the User performing the Import and the time the Import was created. This can be overwritten and given a new name, this is especially useful if you want to create Template Imports providing them with a memorable name.
Import Type: This read only field will display the Record Type of the Import you are performing.
Run after: Here you can select another Import, this Import will only run once the Import selected here has been approved. This can be used when you have multiple Import files that contain dependent data and need the first Import to finish before the Second.
Enable Audit: If this setting was missed in Stage 1, you will have the opportunity to enable Audit for this Import.
File Details
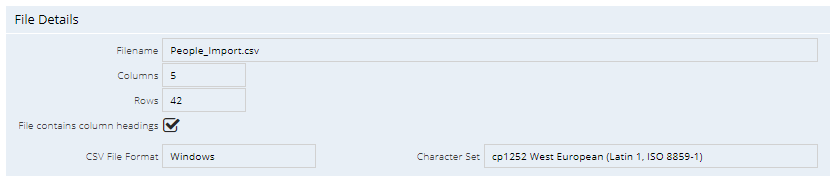
This Section is entirely Read Only, it will provide you with a summary of the File that was uploaded in Stage 1, including the Number of Rows and Columns uploaded, whether headers are included and the File Format and Character Set being used by the Import.
When reviewing the File Details if this data does not look correct you can Click on Uploaded File Button found on the toolbar. This will open a new window and allow you to check that the number of columns and rows in your import match the number that Workbooks has uploaded.
If the data isn’t as you’d expected you can cancel the import, revisit your source data and start the import again.
Advanced CSV file upload settings

Similar to File Settings this section is read only and allows you to view the Advanced Settings that were configured for the import. By default this section will be collapsed and you should not need to review it.