


Using SharePoint File Storage
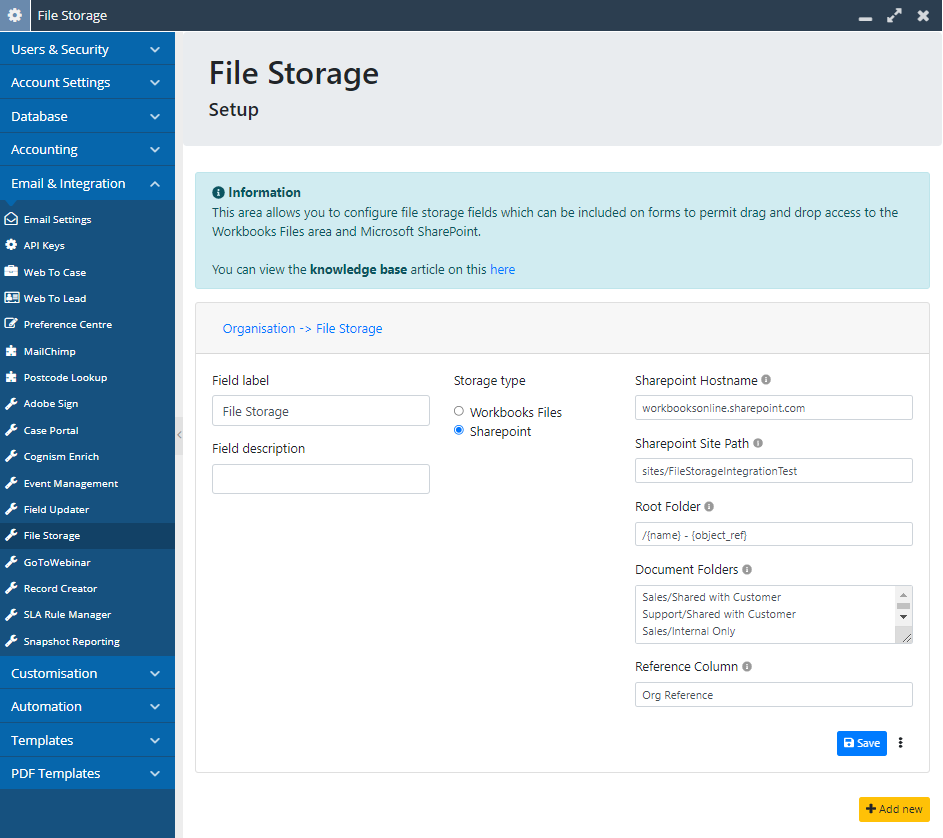
After installing the plugin from the guide here and selecting the ‘SharePoint’ option, more fields will appear.
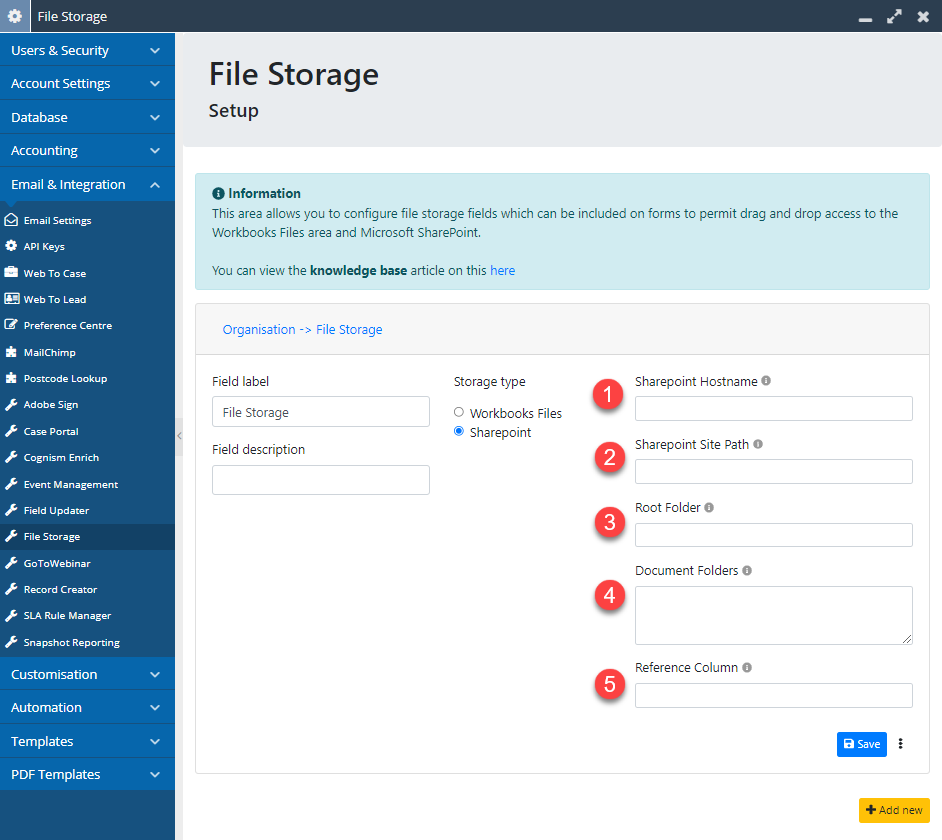
- The URL of your SharePoint site e.g. workbooksonline.sharepoint.com
- A company may have different sites on their SharePoint, sometimes by Teams or Regions. This field should be populated with the site URL you want e.g. site/FileStorageIntegrationTest.
- Using the SharePoint integration, it will natively create a folder for each record within the Documents section. In this case, a folder for each Organisation Record is created within the site mentioned in the above point. The Root Folder field should be populated with the naming convention of this Organisation folder you choose. For example, creating a folder called ‘Atlantic Computer Services – ORG-489’, you would populate the Root Folder field with ‘/{name} – {object_ref}’. This naming convention is using the API reference, of which a full list can be found within Configuration > Automation > API Reference, then clicking the Record Type you require and this will give you the names of the fields. It is worth noting the API reference will need to be enclosed by curly brackets, otherwise the plugin will not pick this up.
- The folders you want to add within this record folder (which you have created in the above field) e.g. Sales/Shared with Customer, Support/Shared with Customer, Sales/Internal Only, Support/Internal Only. Each folder specified needs to be populated one per line.
- The column used in SharePoint to match records from Workbooks to their respective folder. Following the guide on the Microsoft Help Site here shows how to create a single line of text column. It’s advised to name this something unique to the Org Record in Workbooks, e.g. Org Reference, then populate the Reference Column field with the name of the column you have created in SharePoint. This column also needs to be indexed within SharePoint in order for the integration to work correctly. Follow the guide on the Microsoft Help Site here to see how this is done.
After all this information is populated, click ‘Save’.
After saving, you will be able to see your created field with the SharePoint folders populated in all Organisation Records.
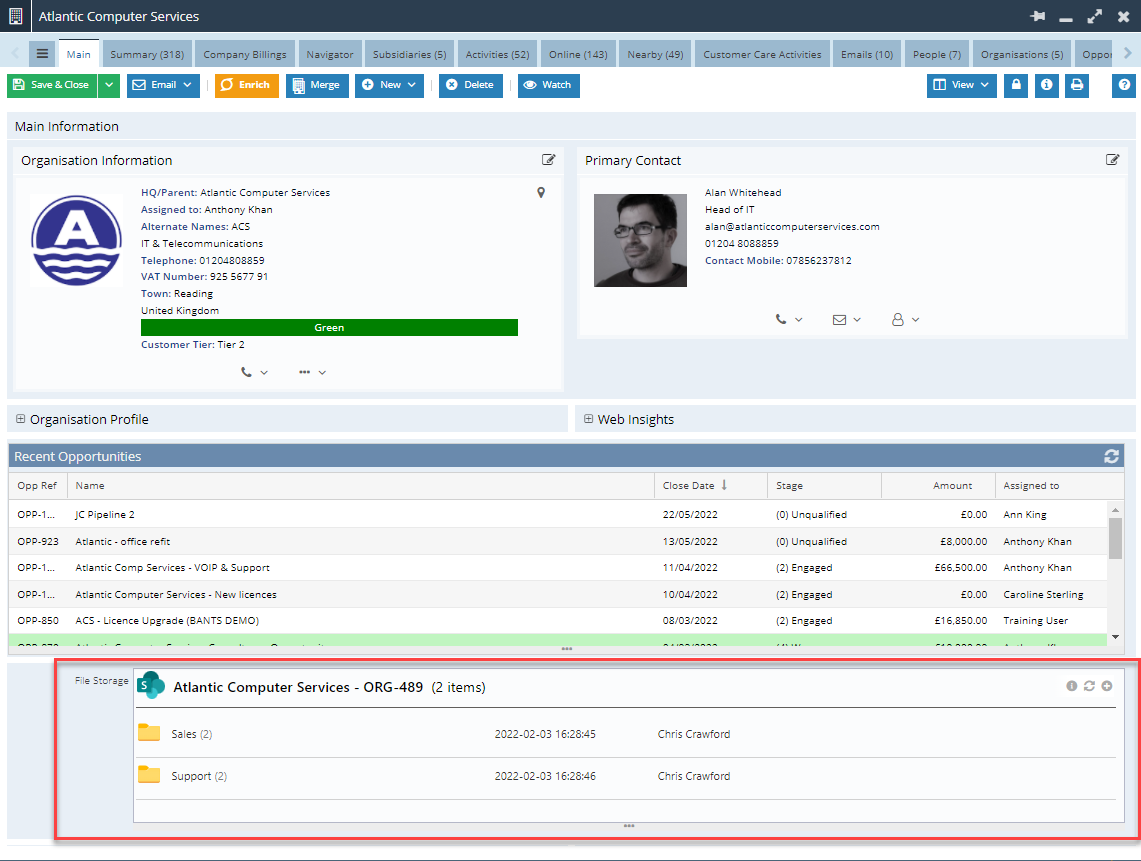
NOTE: Only once an Organisation record in Workbooks is opened, will this connect to SharePoint and create the folder.
Similarly to the File Storage Plugin, this is an easy to use drag and drop field that can also be added as a tab. This can be done by navigating to Configuration > Customisation > Record Types > Organisations (or whichever record you choose to add to) > Fields (tab), find the field you created and then click the checkbox to ‘Show as Tab’.
All changes made on the field or tab within a Workbooks record will reflect SharePoint and vice versa.
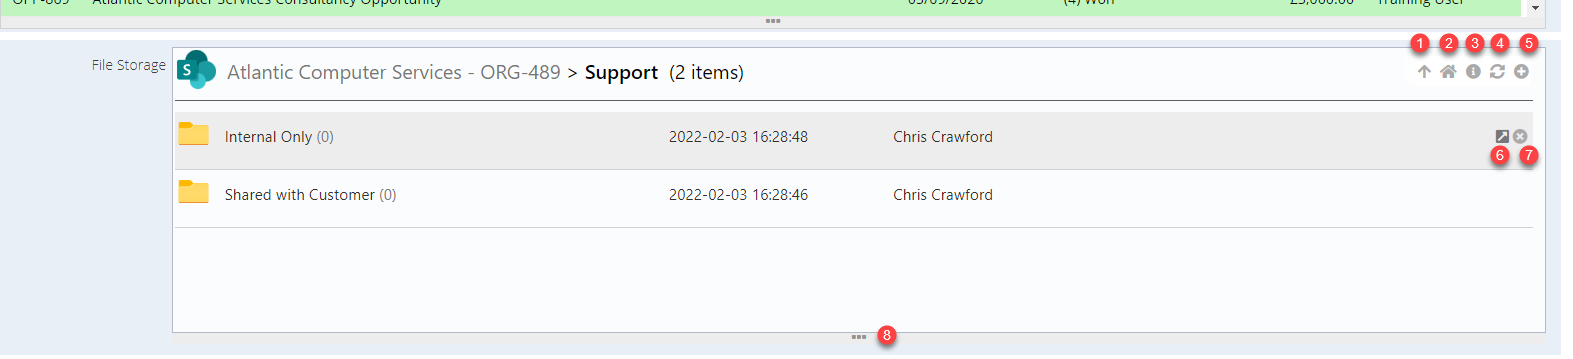
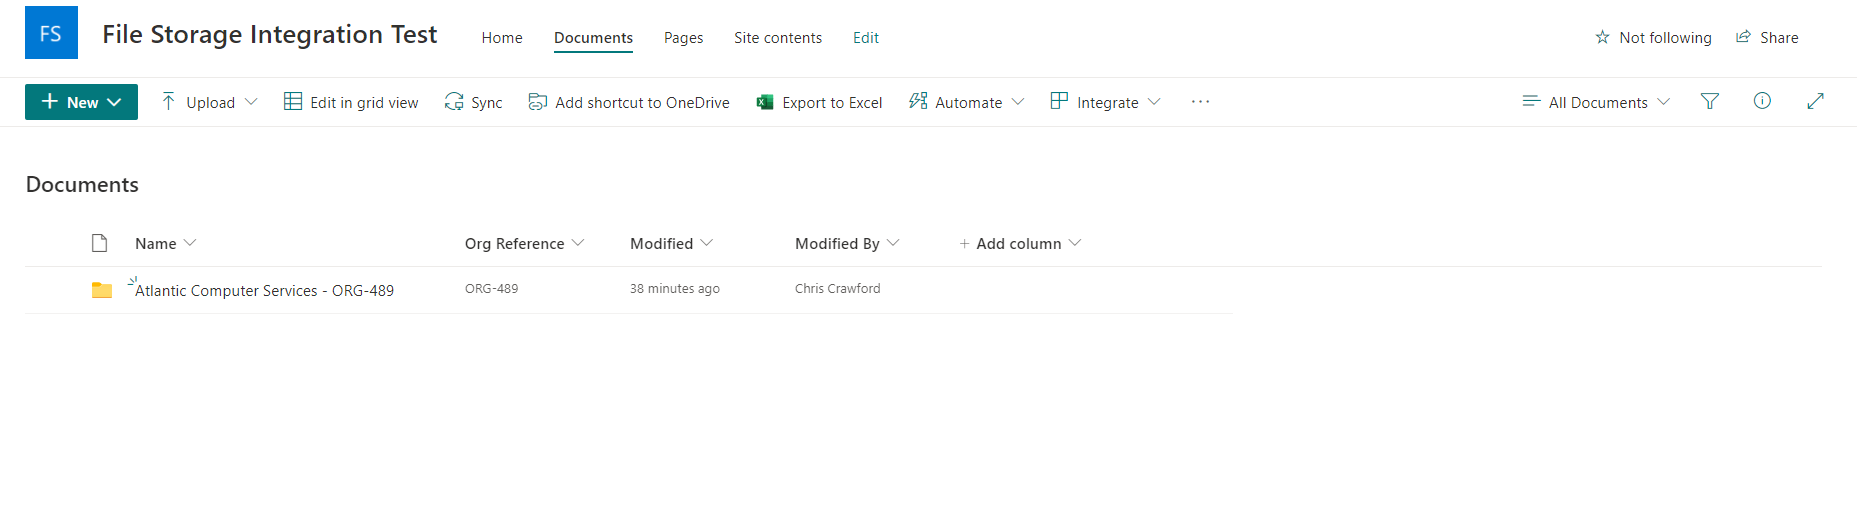
- After clicking into any folder, this will appear to be able to go back one folder.
- Takes you back to the root folder.
- A link to this Knowledge Base Article.
- Refreshes the folder.
- Opens File Explorer to add new files.
- Opens up a new browser tab to view the folder in SharePoint.
- Deletes the folder/document.
- Can be dragged down to make the field larger to view all files.