Viewing Web Insights Data on your Form Layouts
The Web Insights plugin setup creates the custom fields for you, but the plugin cannot control the position of fields on the Form Layout. Therefore you are likely to need to update the Form Layout and position the fields. For ease of access we recommend the Web Insights fields are grouped together in a single section to make the data easier to access.
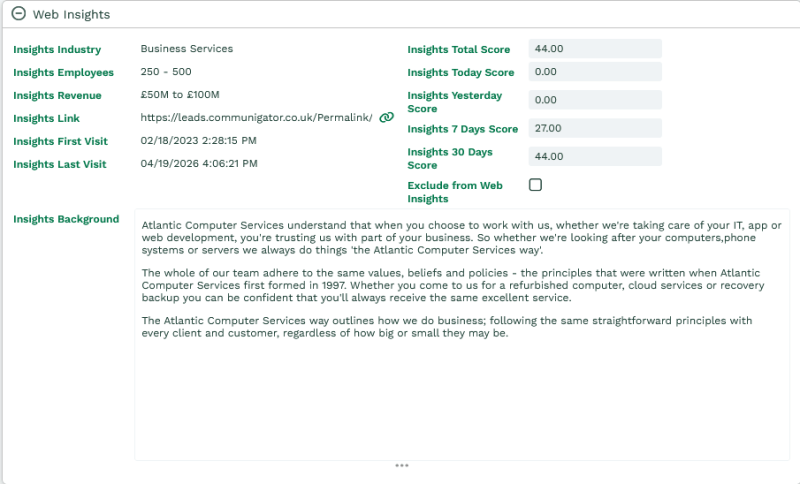
Below is an example of how you might want to display the fields on the relevant form layouts for each record type.
You can find further information about amending Form Layouts in our Knowledge Base. The above example is made up of:
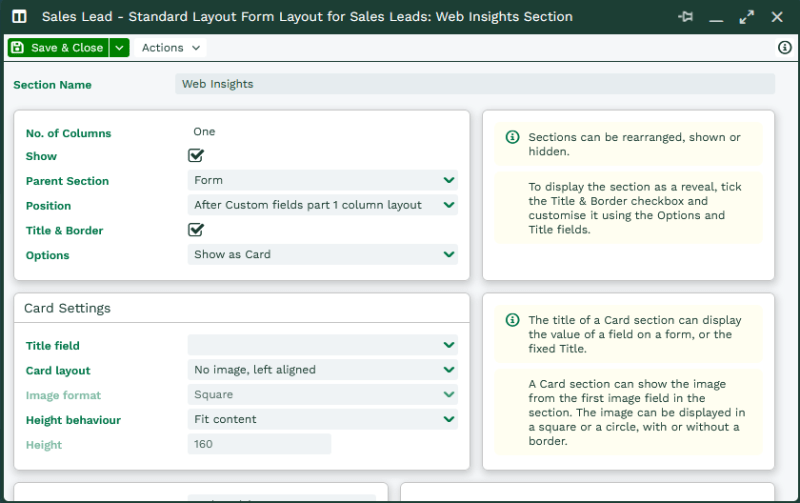
- 1 x one-column section – This should have a Title & Border, and be given a title of Web Insights
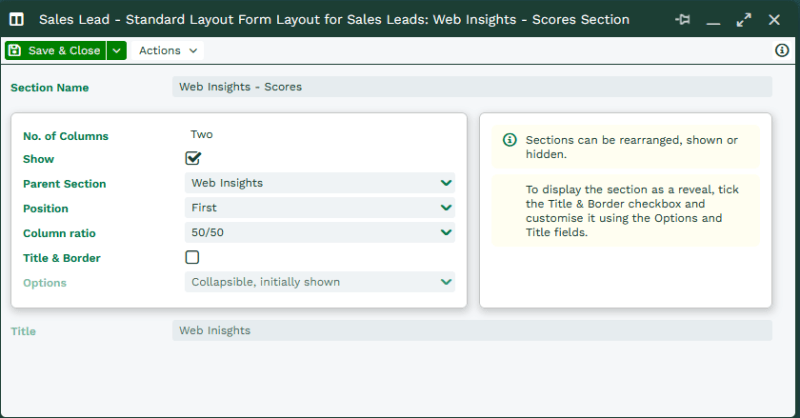
- 1 x two-column section – call this something that identifies what it is, but this doesn’t need a Title & Border
Position the fields within the Web Insights section on each Form Layout
REMINDER: When you perform the step below, for each Web Insights field, remember to also make each field read-only (tick the read-only box on each field).
Once you’ve created the sections mentioned above on each Form Layout (for Lead, Person and Organisation), position the Insights fields within the two-column section, then position the wider Insights Background field to appear after those fields, within the one-column section. Simply select each field on the Form Layout’s Fields tab e.g. Insights Last Visit, select the appropriate Parent Section and Position, tick the read-only checkbox, click Save & Close on the field. When you’ve positioned all of the fields click Save & Close on the Form Layout.
As mentioned above, you can find further information about amending Form Layouts in our Knowledge Base.
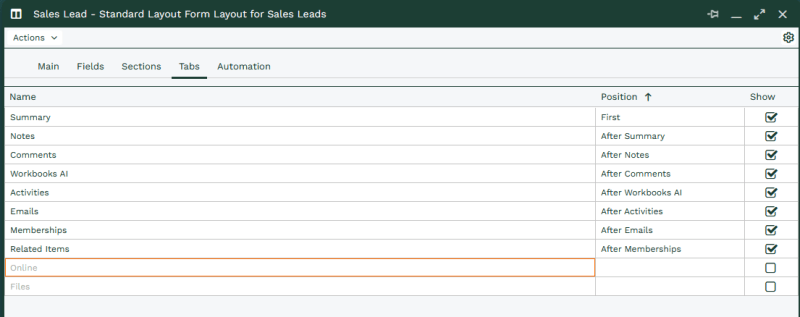
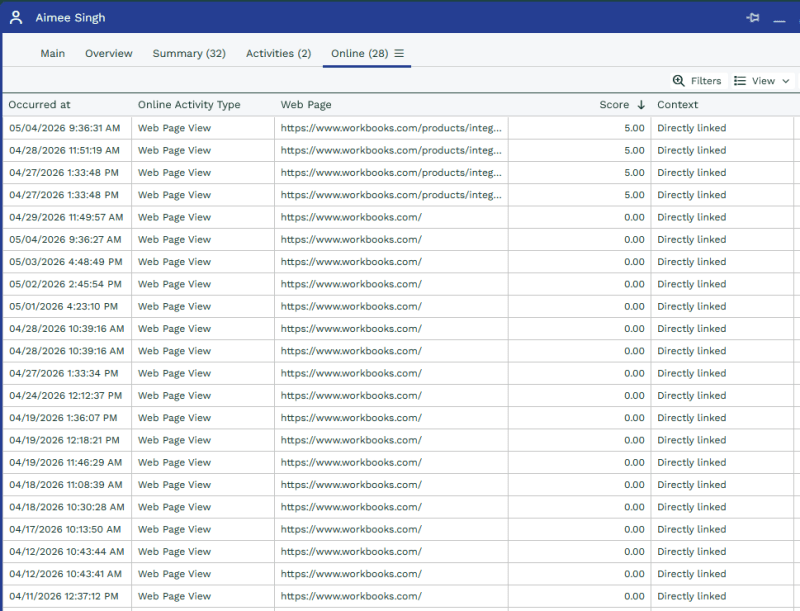
Online Tab
You can view all Online Activities for the Sales Lead, Person or Organisation that you are viewing by enabling the Online tab. This enables you to see where else they went on your website and how they got there – this may provide you some insight into what they are interested in.
You can enable the Online tab by going to Start > Configuration > Customisation > Record Types – you will need to select the Form Layout that you would like to see the Online tab on, and enable the Online tab within here.